Part 3 in our Propagating Cacti and Succulents Series
- Part 1 - Propagating Paddle Cacti
- Part 2 - Propagating Agave
- Part 3 - Propagating Columnar Cacti (this article)

Part 3 in our Propagating Cacti and Succulents Series
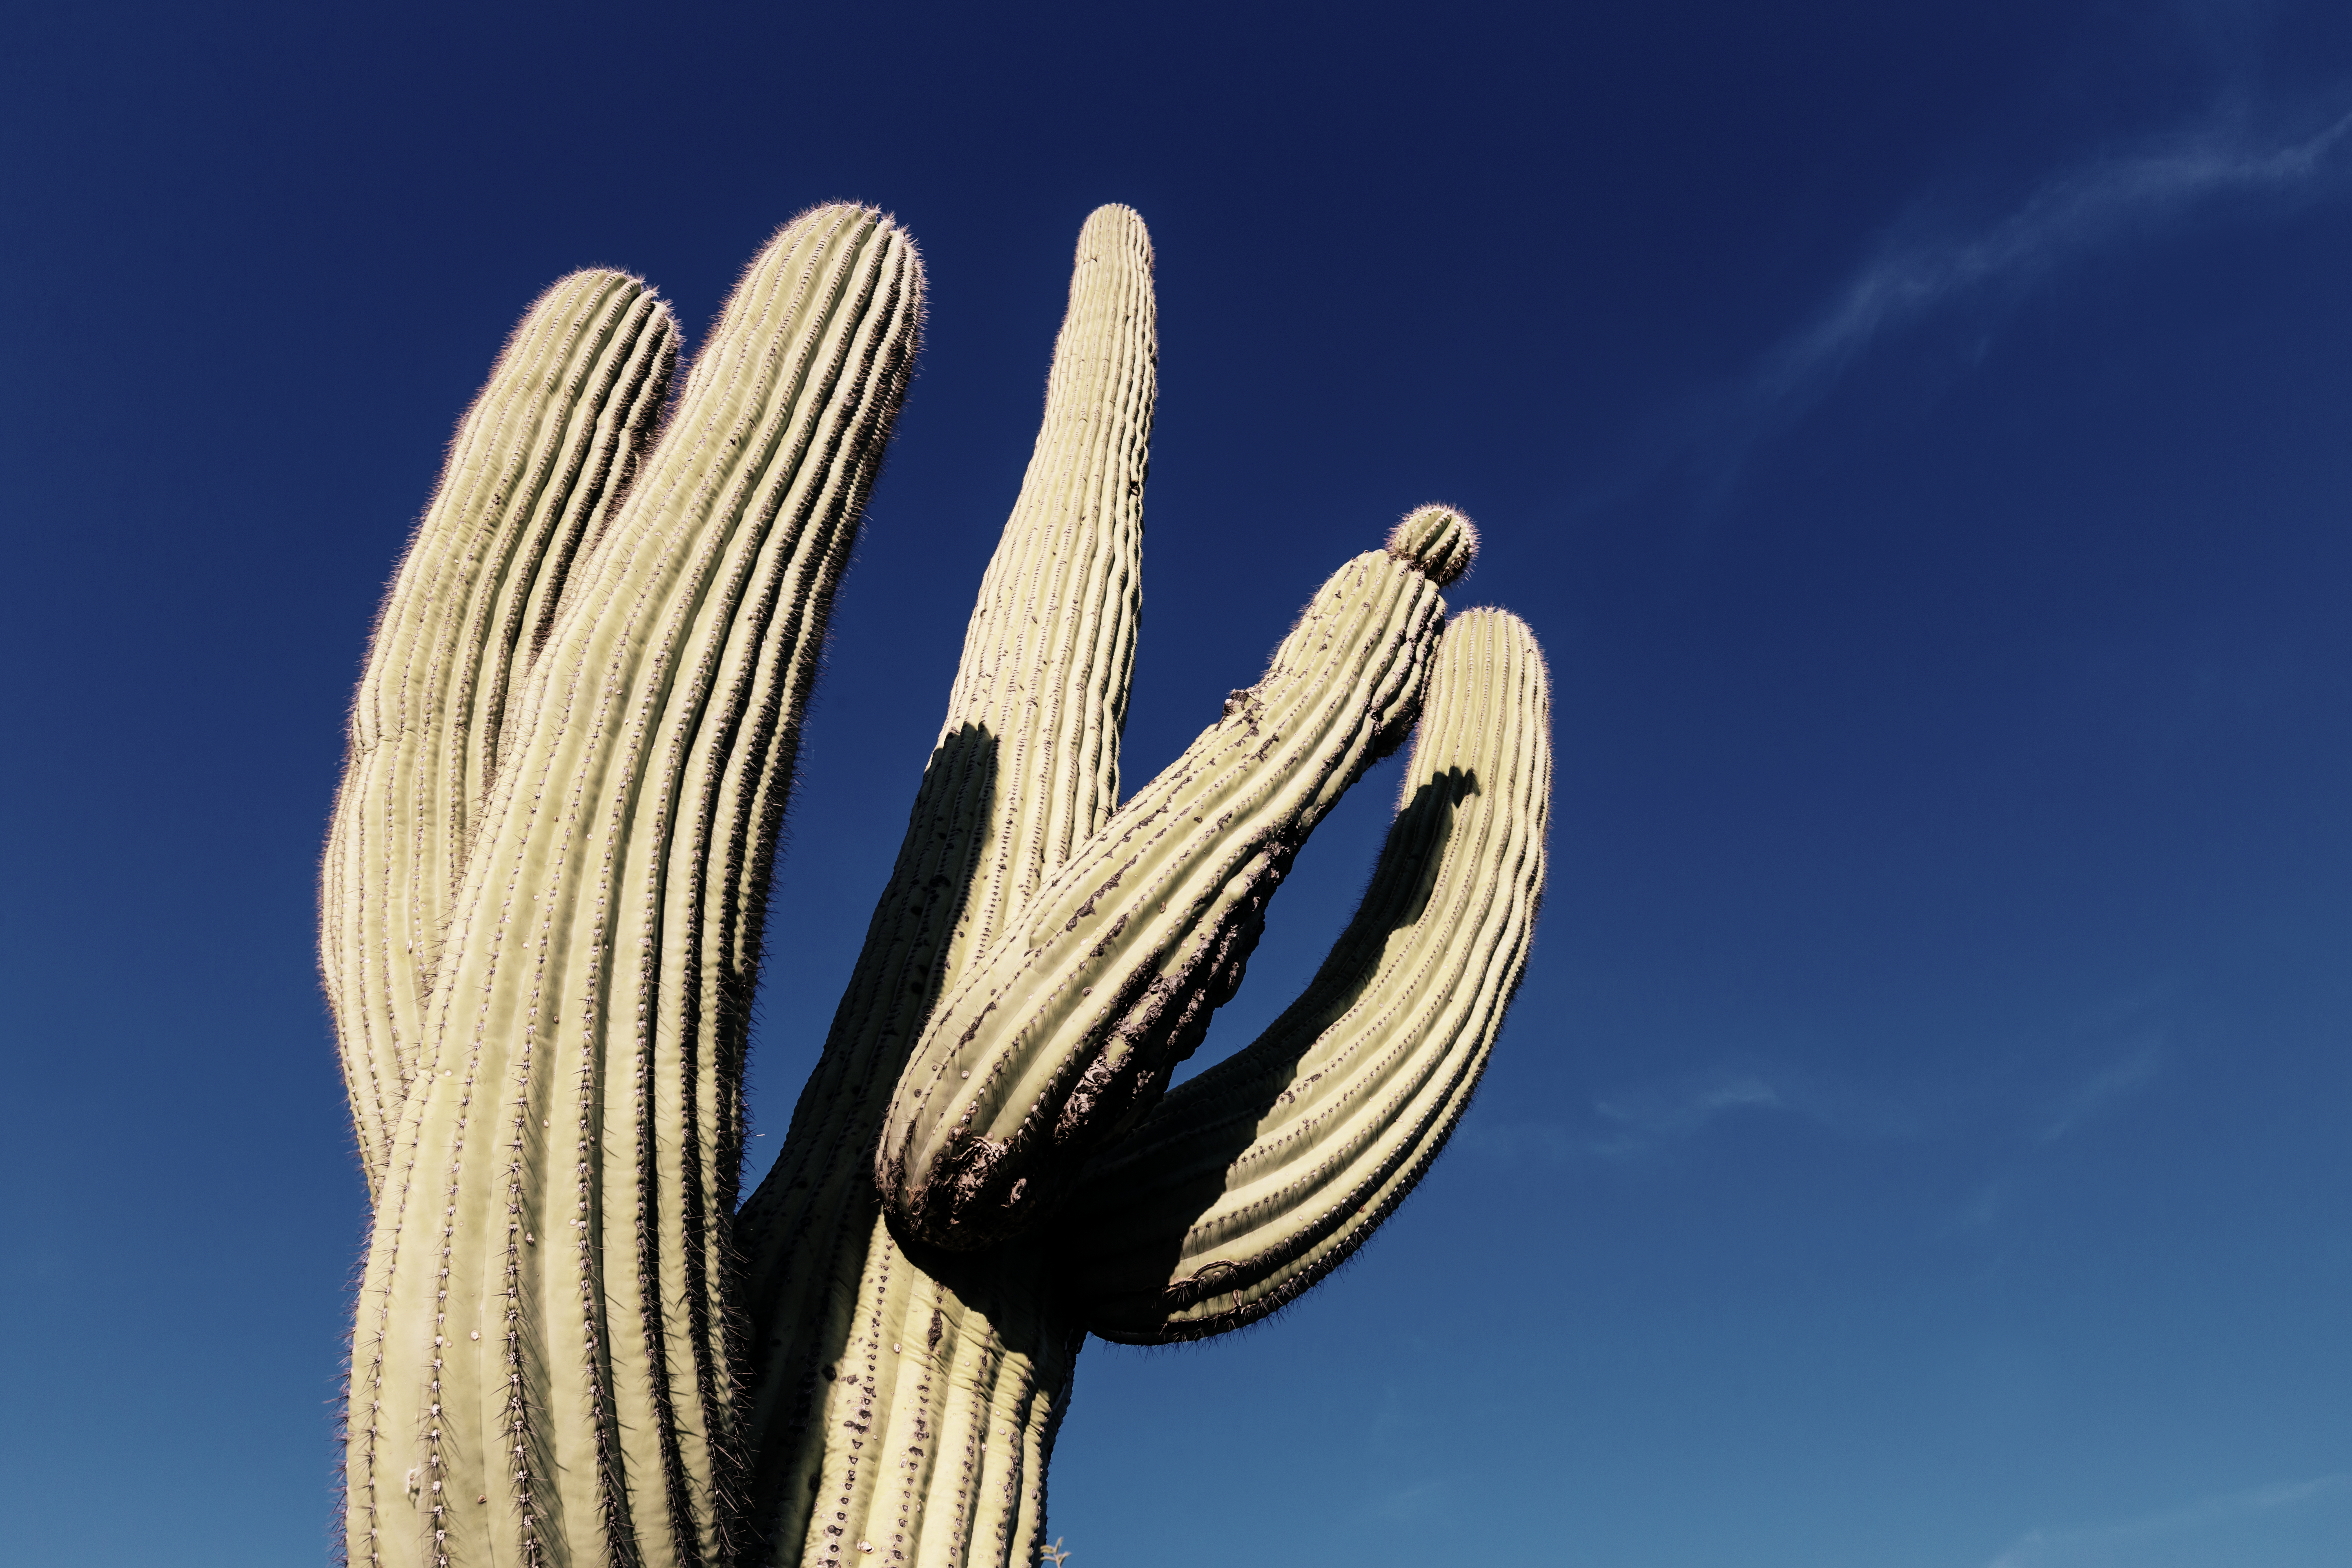
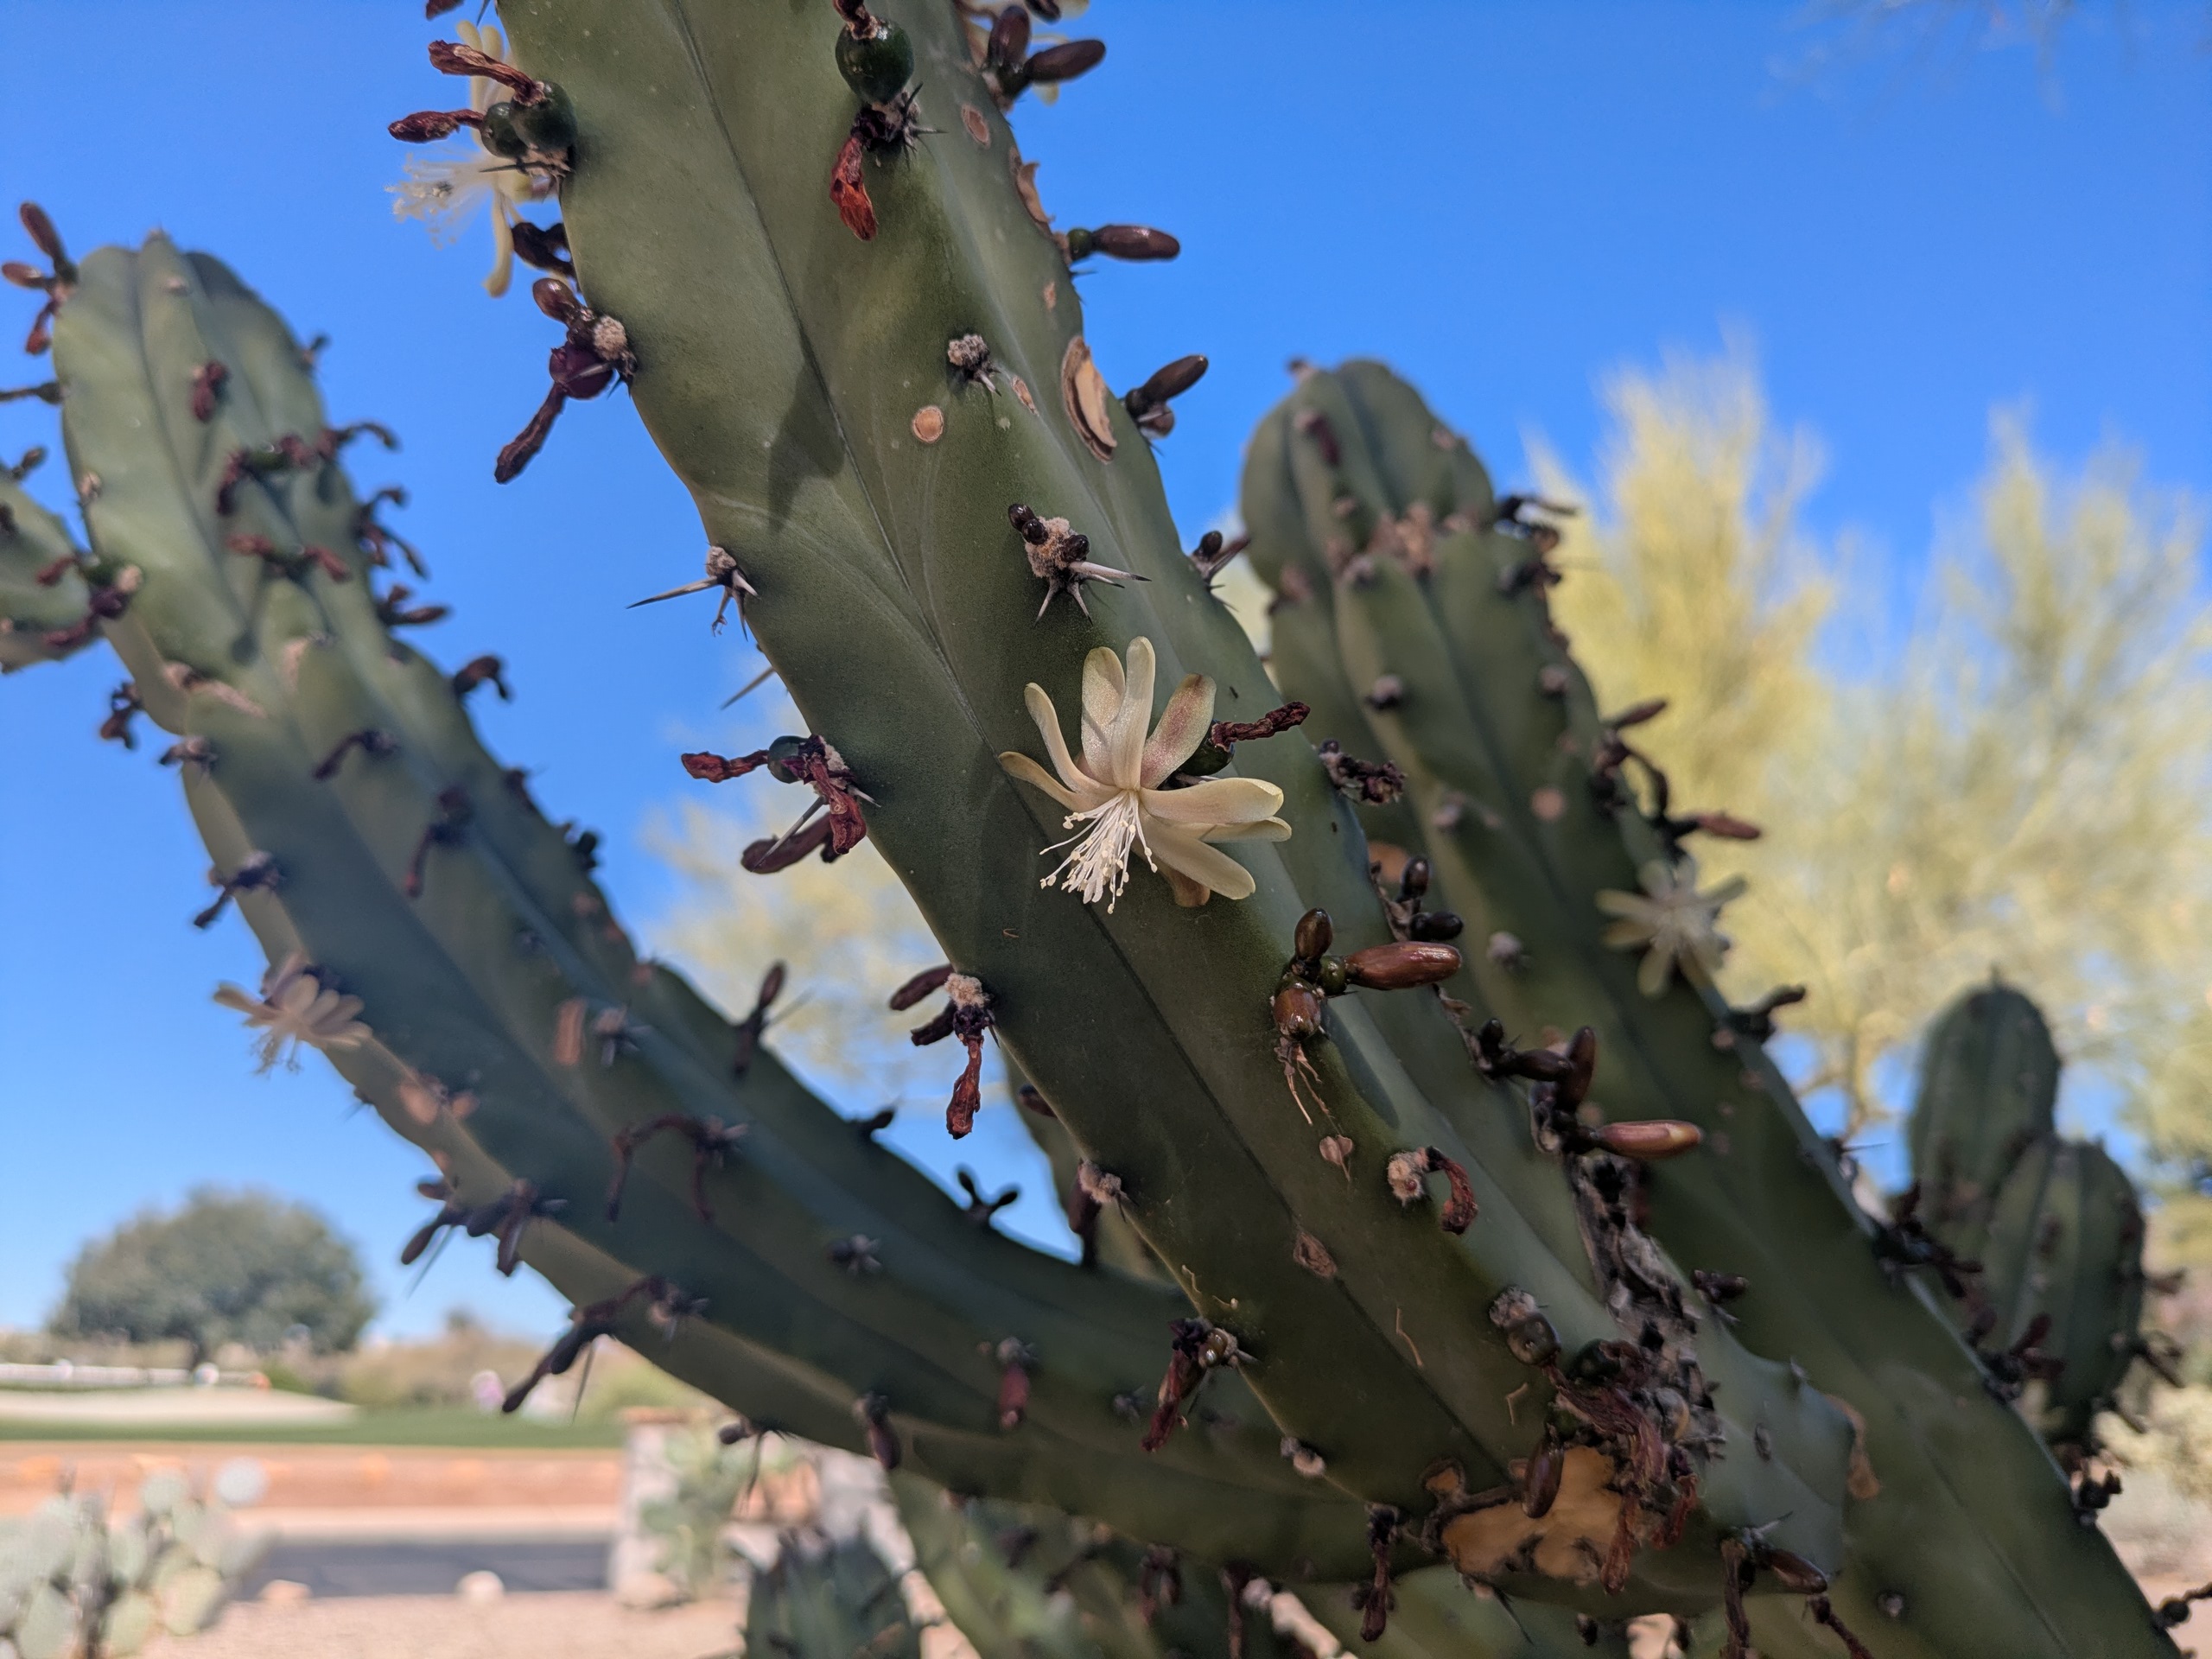
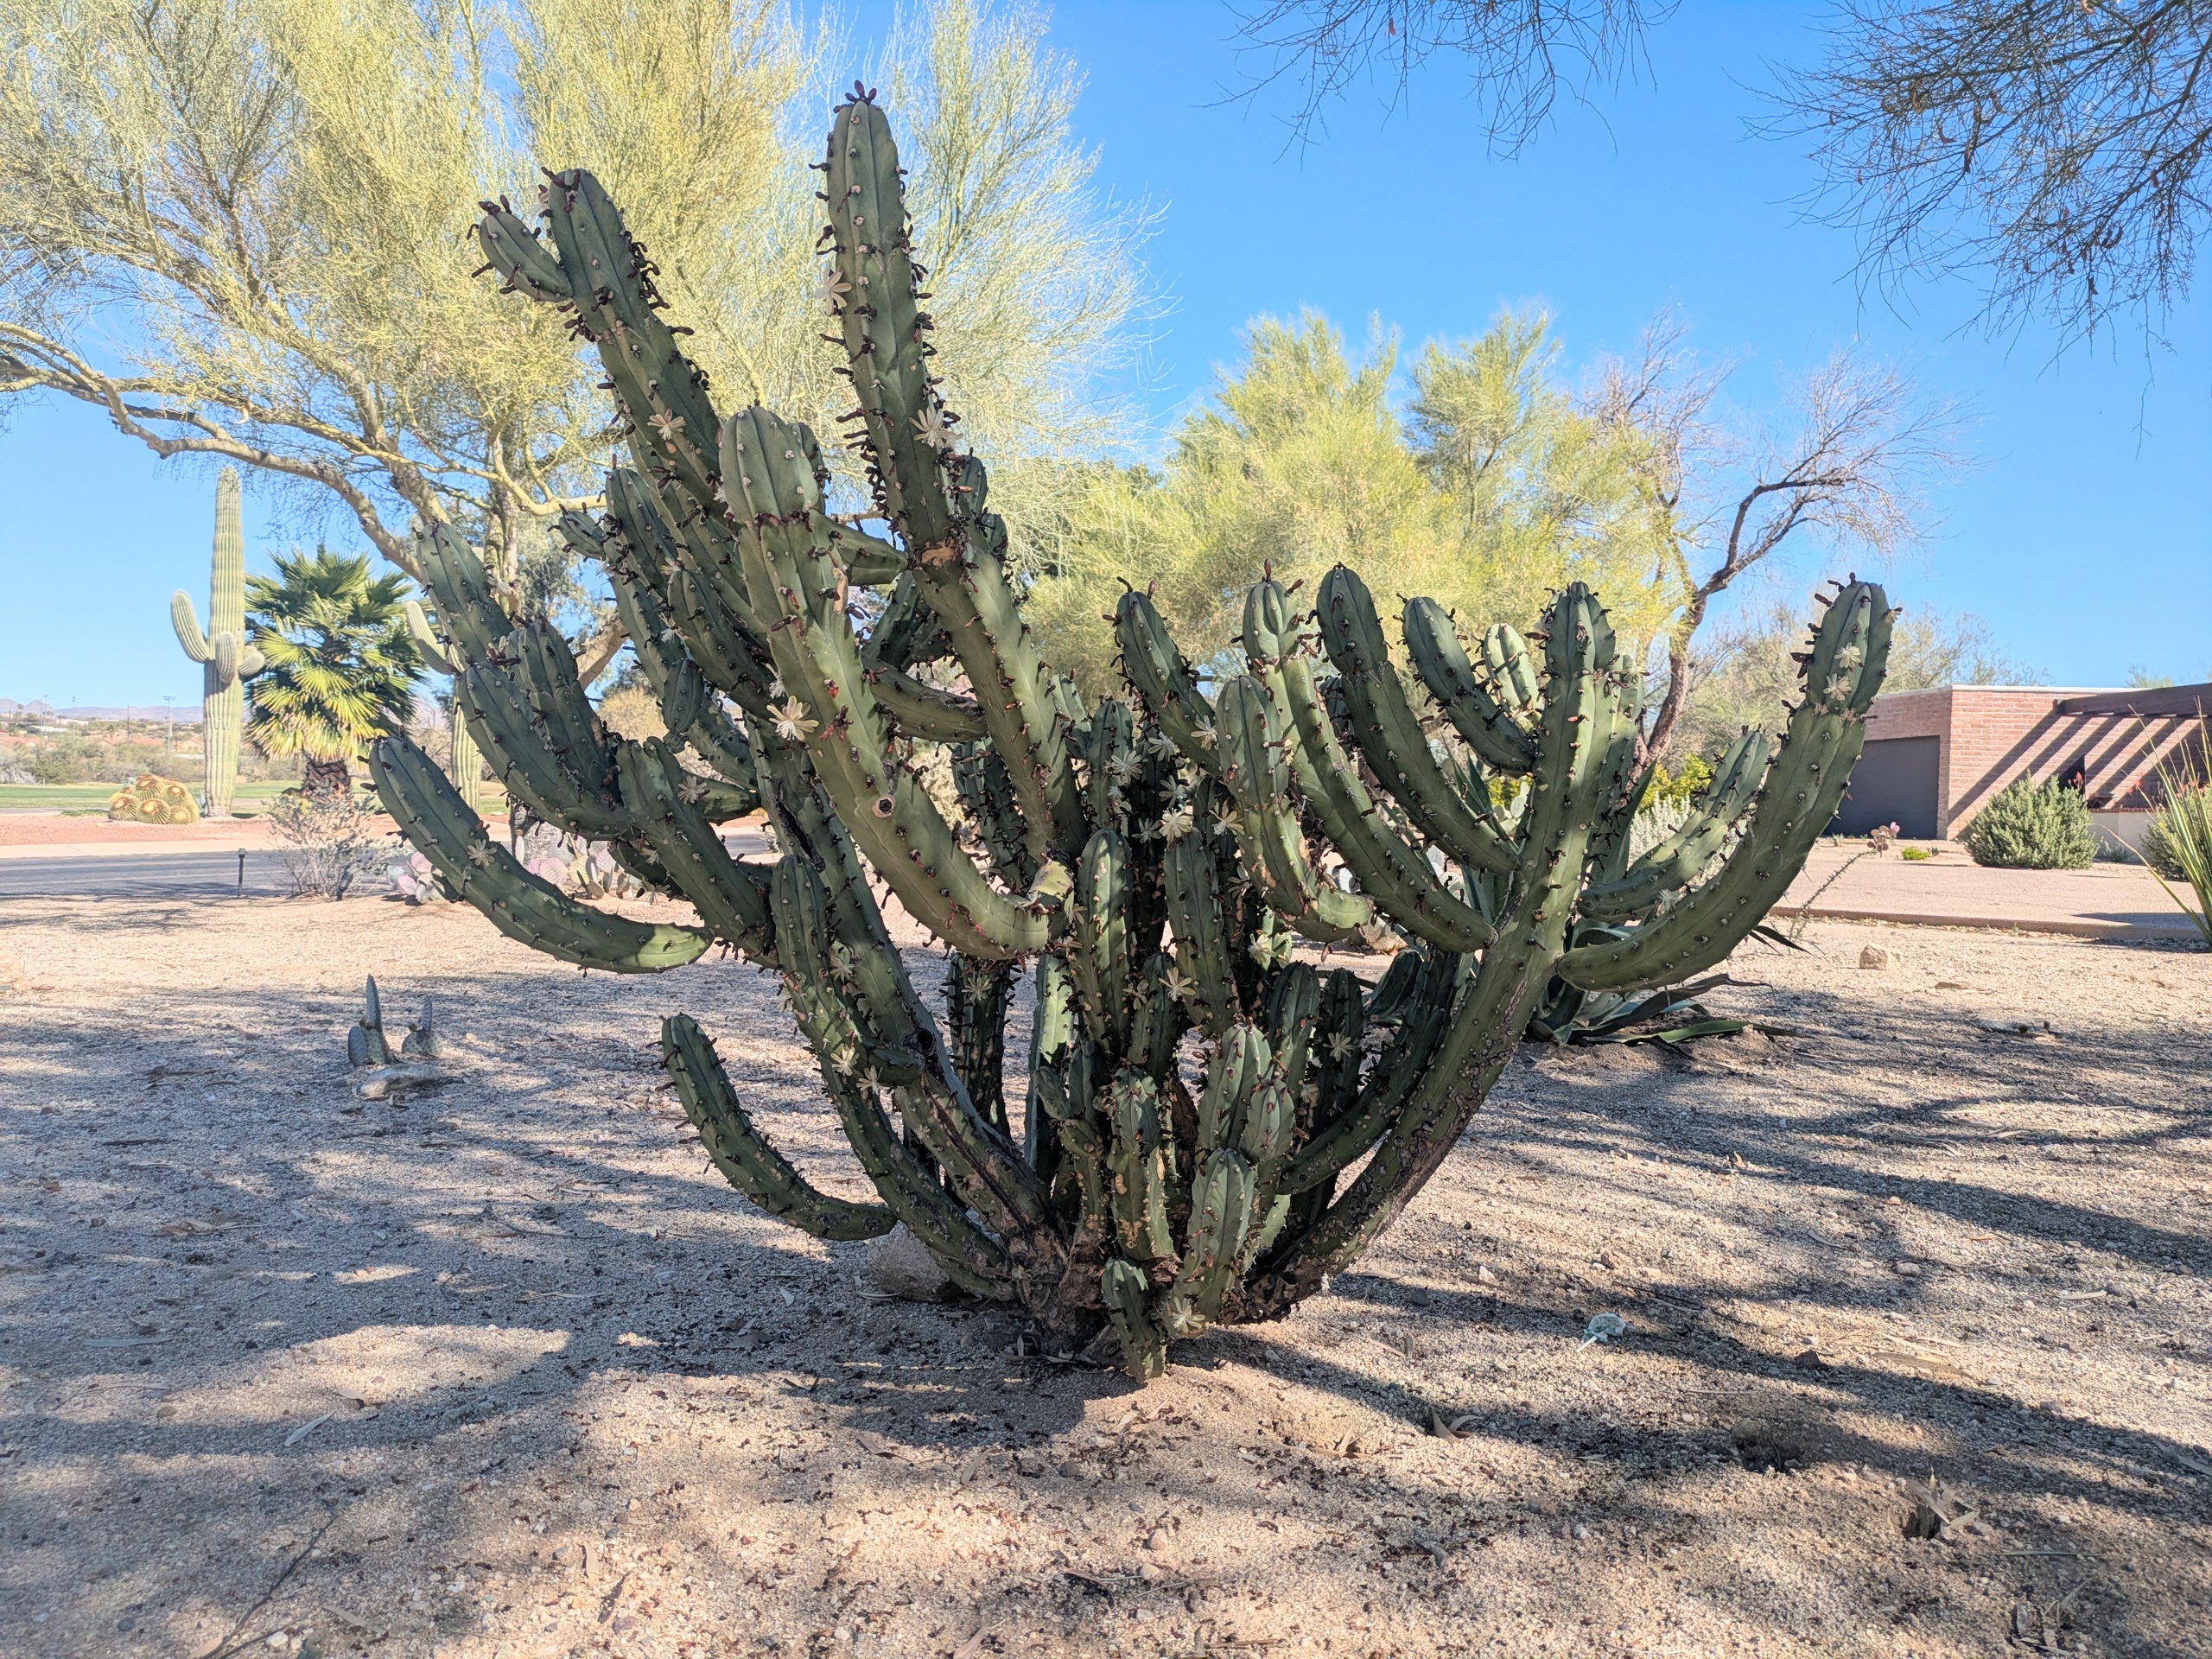
There are hundreds of types of columnar cactus (Cereus, Pachycereus, Cephalocereus, etc.), ranging from the impressively tall and majestic Saguaro to smaller, cluster-growing San Pedro. These plants thrive in dry climates, need very little water, and reward growers with striking flowers.
Columnar cacti are relatively simple to propagate, though the method can vary. In part 3 of this series, we’ll cover the ways to increase the number of columns in your garden and care for the parent plant after you’ve taken a cutting.
Saguaros and other ‘giant’ columnar cacti do not readily root from cuttings. Some species of columnar cacti, like Saguaro, are also protected. Check local and state guidelines for restrictions.
The most effective method for most columnar cacti is to take a stem cutting. A cutting between 6 and 12 inches tall is ideal, although on smaller varieties, 2-3 inches is plenty. Taller cuttings can work, but they take longer to establish and are more prone to tipping due to their weight.
Things You’ll Need:
The best time to take a columnar cactus cutting is in late spring or early summer, when the plant is healthy after the winter rains, but the temperature is not yet too hot. This balances the conditions and maximizes the chance of plant survival.
Cactus spines and glochids are sharp and can easily irritate skin. Handle all cuttings with care.

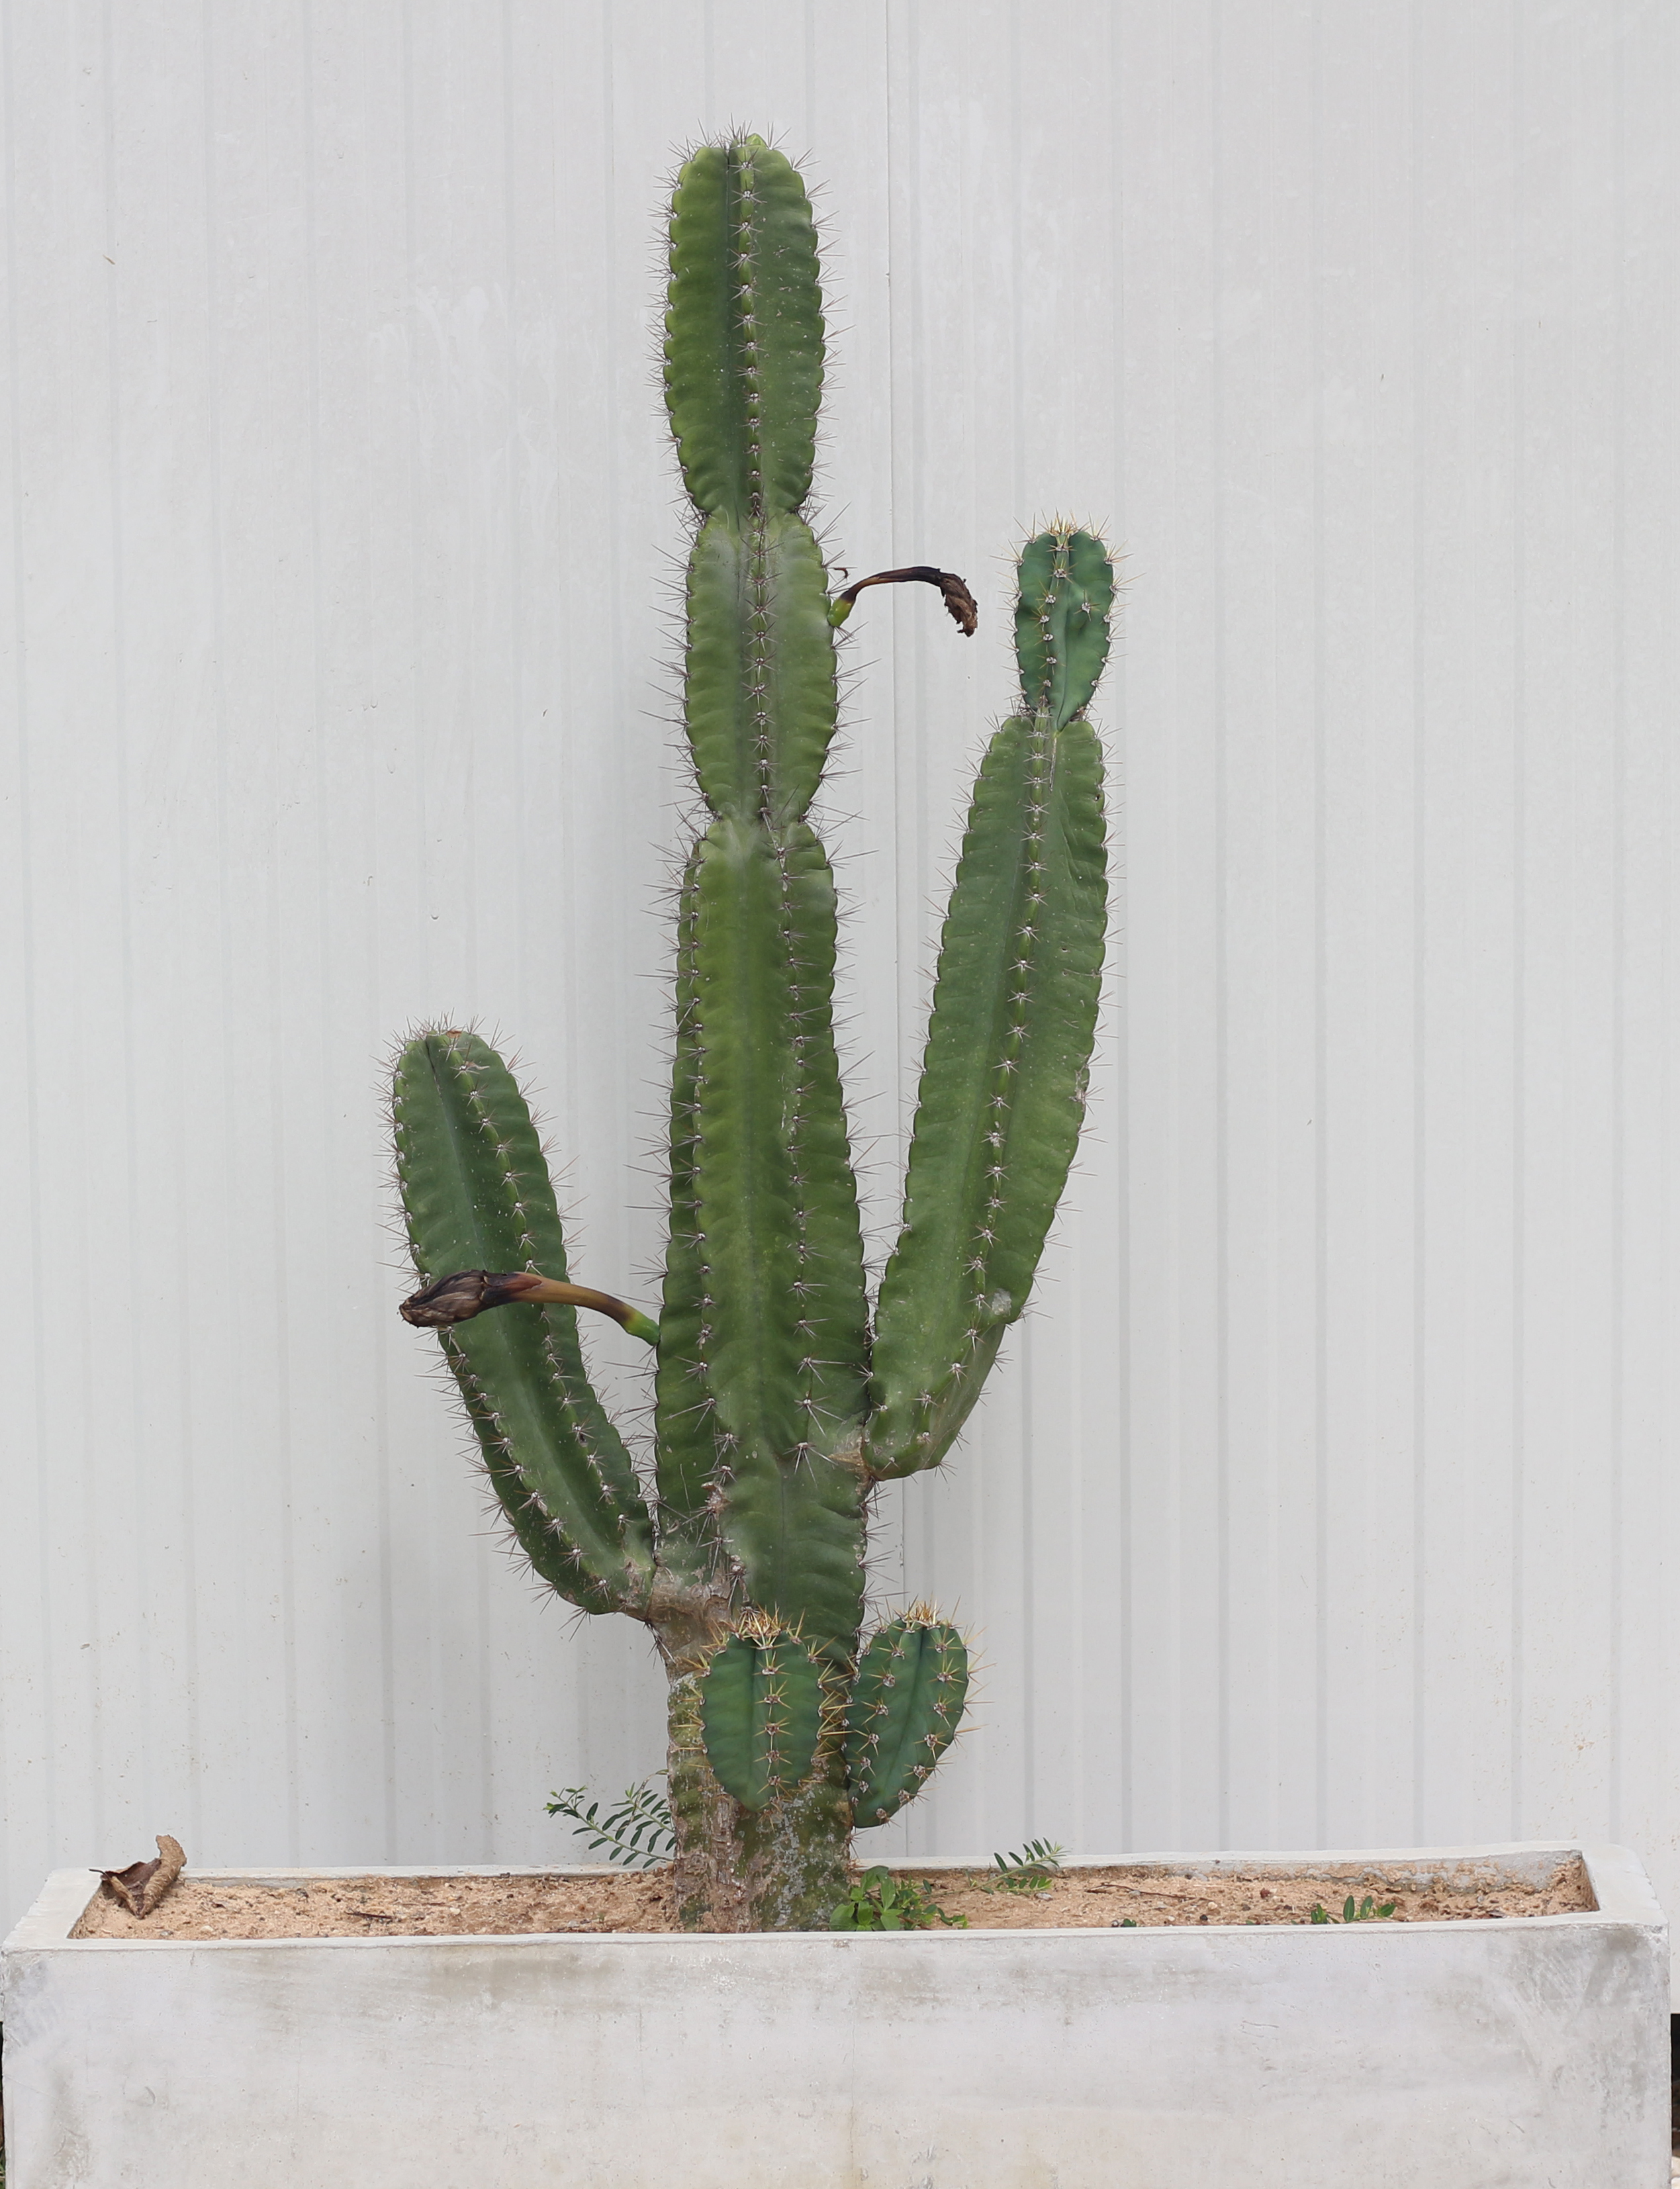
First, select a healthy parent plant with robust color and good growth that is not wrinkled or dry. Look for a segment that is at least 6-8 inches long and has plenty of areoles (the raised nodes along the stem), as these will produce most of the roots. You can take the cutting from the main growing stem or one of the offset shoots.
Using your clean, sterile knife, cut the cactus just below an areole at a 45-degree angle, taking care not to nick other parts of the cactus. If the column has a ‘joint’, this is an excellent place to make the cut, and we’ll explain a little more on this later.
Once you’ve made the cut, this is the time to add hormone rooting powder if you want to. As well as promoting new root growth, the powder also helps the cactus to dry out. As this is a much larger wound, this can be very beneficial.
Some columnar cacti form joints, either along their main stems (these will be slightly constricted lines with hard tissue growth) or through arms, like myrtillocactus geometrizans. If your plant has these joints, these are excellent places to cut. The plant will root more readily from these areas as the tissue is denser, and the cut site will be smaller, allowing the plant to heal more quickly.
Follow all the steps listed here, but note that drying and rooting will likely be faster.
After taking your cutting, let the wound dry and callus fully before planting. Columnar cacti may take 2-4 weeks or more to fully dry because the cut surface is larger and holds more moisture.
Place the cutting in a bright, airy spot out of direct sun and protected from rain. Good airflow speeds drying and reduces the chance of fungal issues. Rotate the cutting every few days to discourage aerial roots, which often form when one side stays shaded or pressed against a surface.
A fully callused cutting will have a firm, dry, corky surface with no remaining moisture. Once it reaches this stage, it’s ready to plant.
Aerial roots aren’t harmful, but too many forming before the cut has sealed can dry out and stress the plant. A few that appear toward the end of the callusing period or after are completely normal.
Plant your cutting in a well-draining potting mix. Keep the amount of organic matter low to reduce the chance of rot; I’ve found that incorporating some rocky soil from the garden works very well. Stake your cactus with canes if needed; you want it to stay steady while it roots.
Use the parent plant’s soil as a visual guide, but mix a more mineral, well‑draining version for the cutting. Matching the look and feel of the original soil—just with more grit and less organic matter—helps you land on the right blend.
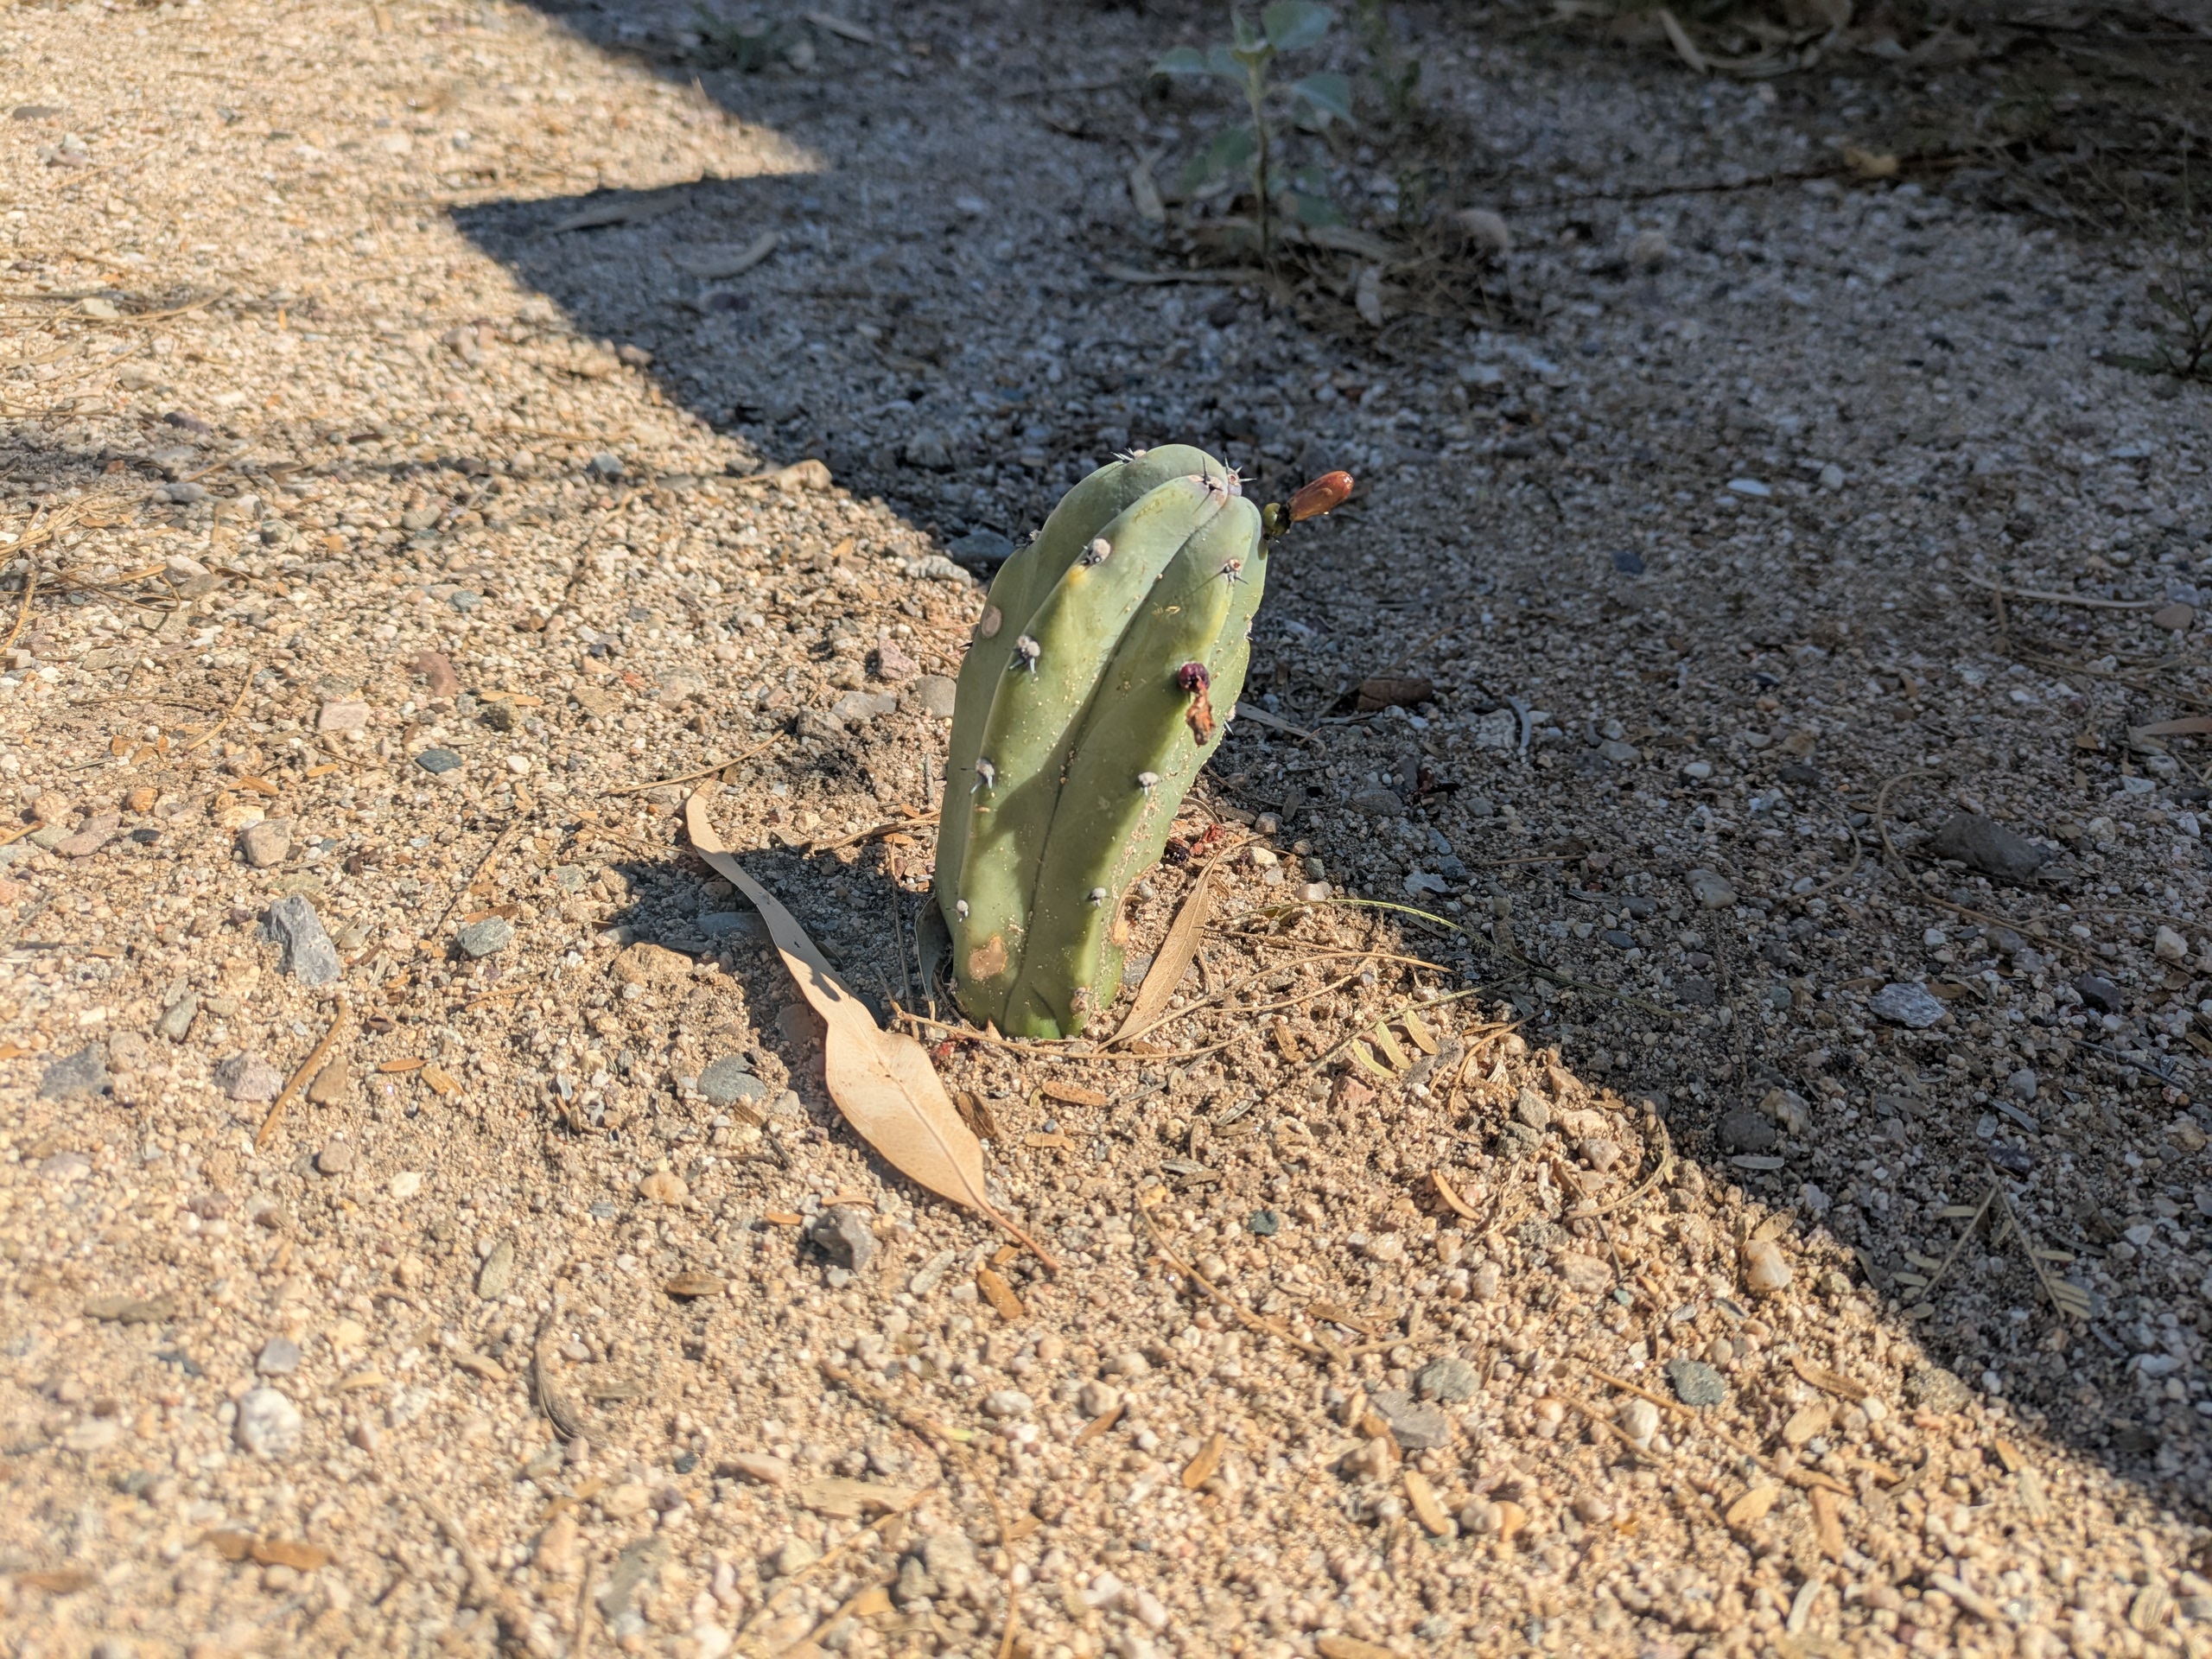
Your cutting will likely shrivel in the weeks after you plant it, but resist the temptation to water it until it roots (around 3-4 weeks). The cacti will lose some water in the rooting process, but a well-sized cutting will have plenty of reserves and will fill out again after it roots.
My favorite test for roots with columnar cacti is to gently lift the cactus and see if the pot lifts with it. Lifting it just a quarter inch off the ground is enough. You can also look for a more vibrant coloring at the tip, or if there are any offsets from the areoles; this means the plant has rooted and is beginning to grow again.
Once roots emerge, water lightly and allow the soil to dry completely before watering again. As it becomes more established, start soaking the soil more deeply and more infrequently. The aim is to adapt it to dry conditions.
Once the plant has well-established roots, is a robust, healthy color, and is putting out new growth, it’s ready to be transplanted to the final location. This usually takes a few months.
After transplanting, water thoroughly, and then water once a week for 4-6 weeks to encourage root spreading. During the first couple of years, you may need to water it once a month during the dry spells, but it should become independent quite quickly; just keep an eye on it.
The parent plant now has an exposed wound. The 45-degree angle of the cut, or cut at the joint, will minimize damage, but there are some steps you can take to speed up recovery.
The parent plant will likely produce multiple offsets from the cut site that will grow from the surrounding areoles. Choosing an offset to begin with means you can retain a healthy main stem, with new growth that starts closer to the ground and is easier to manage.
With a clean cut, a full callus, and a gritty soil mix, most columnar species root reliably. The process takes time, but each stage is simple, and the plants are far more resilient than they appear. Given a few months of careful attention and the right conditions, your cutting will establish itself and begin the slow climb toward maturity, soon becoming a wonderful garden addition.