Whether you’re in the arid Desert Southwest or in the temperate regions of Europe, summers can get hot, the rainfall a little more sporadic, and even the most tolerant plants can begin to struggle.
Fortunately, there’s a simple, time-tested solution that’s making a comeback: ollas. Used for thousands of years, this low-tech method relies on unglazed terracotta pots buried in the soil to deliver water directly to plant roots.
By creating a steady, subsurface source of moisture, ollas help regulate soil conditions, reduce evaporation, and discourage weed growth. The result is healthier plants, less frequent watering, and a more resilient garden—no matter your climate.
How Ollas Work (and Where They Come From)
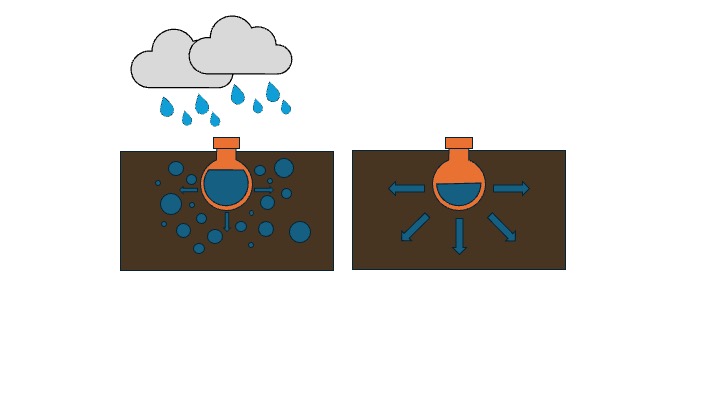
Ollas (from the Spanish word for “clay pot”) are a centuries-old irrigation technique. At its core, an olla is an unglazed clay vessel buried in the soil and filled with water. Because porous clay allows slow seepage, water is released gradually into the surrounding soil, moving toward drier areas where plant roots are actively drawing moisture. This process is self-regulating, releasing more water when the soil is dry, and less when it is wetter. Plant roots will also grow towards the olla over time as well.
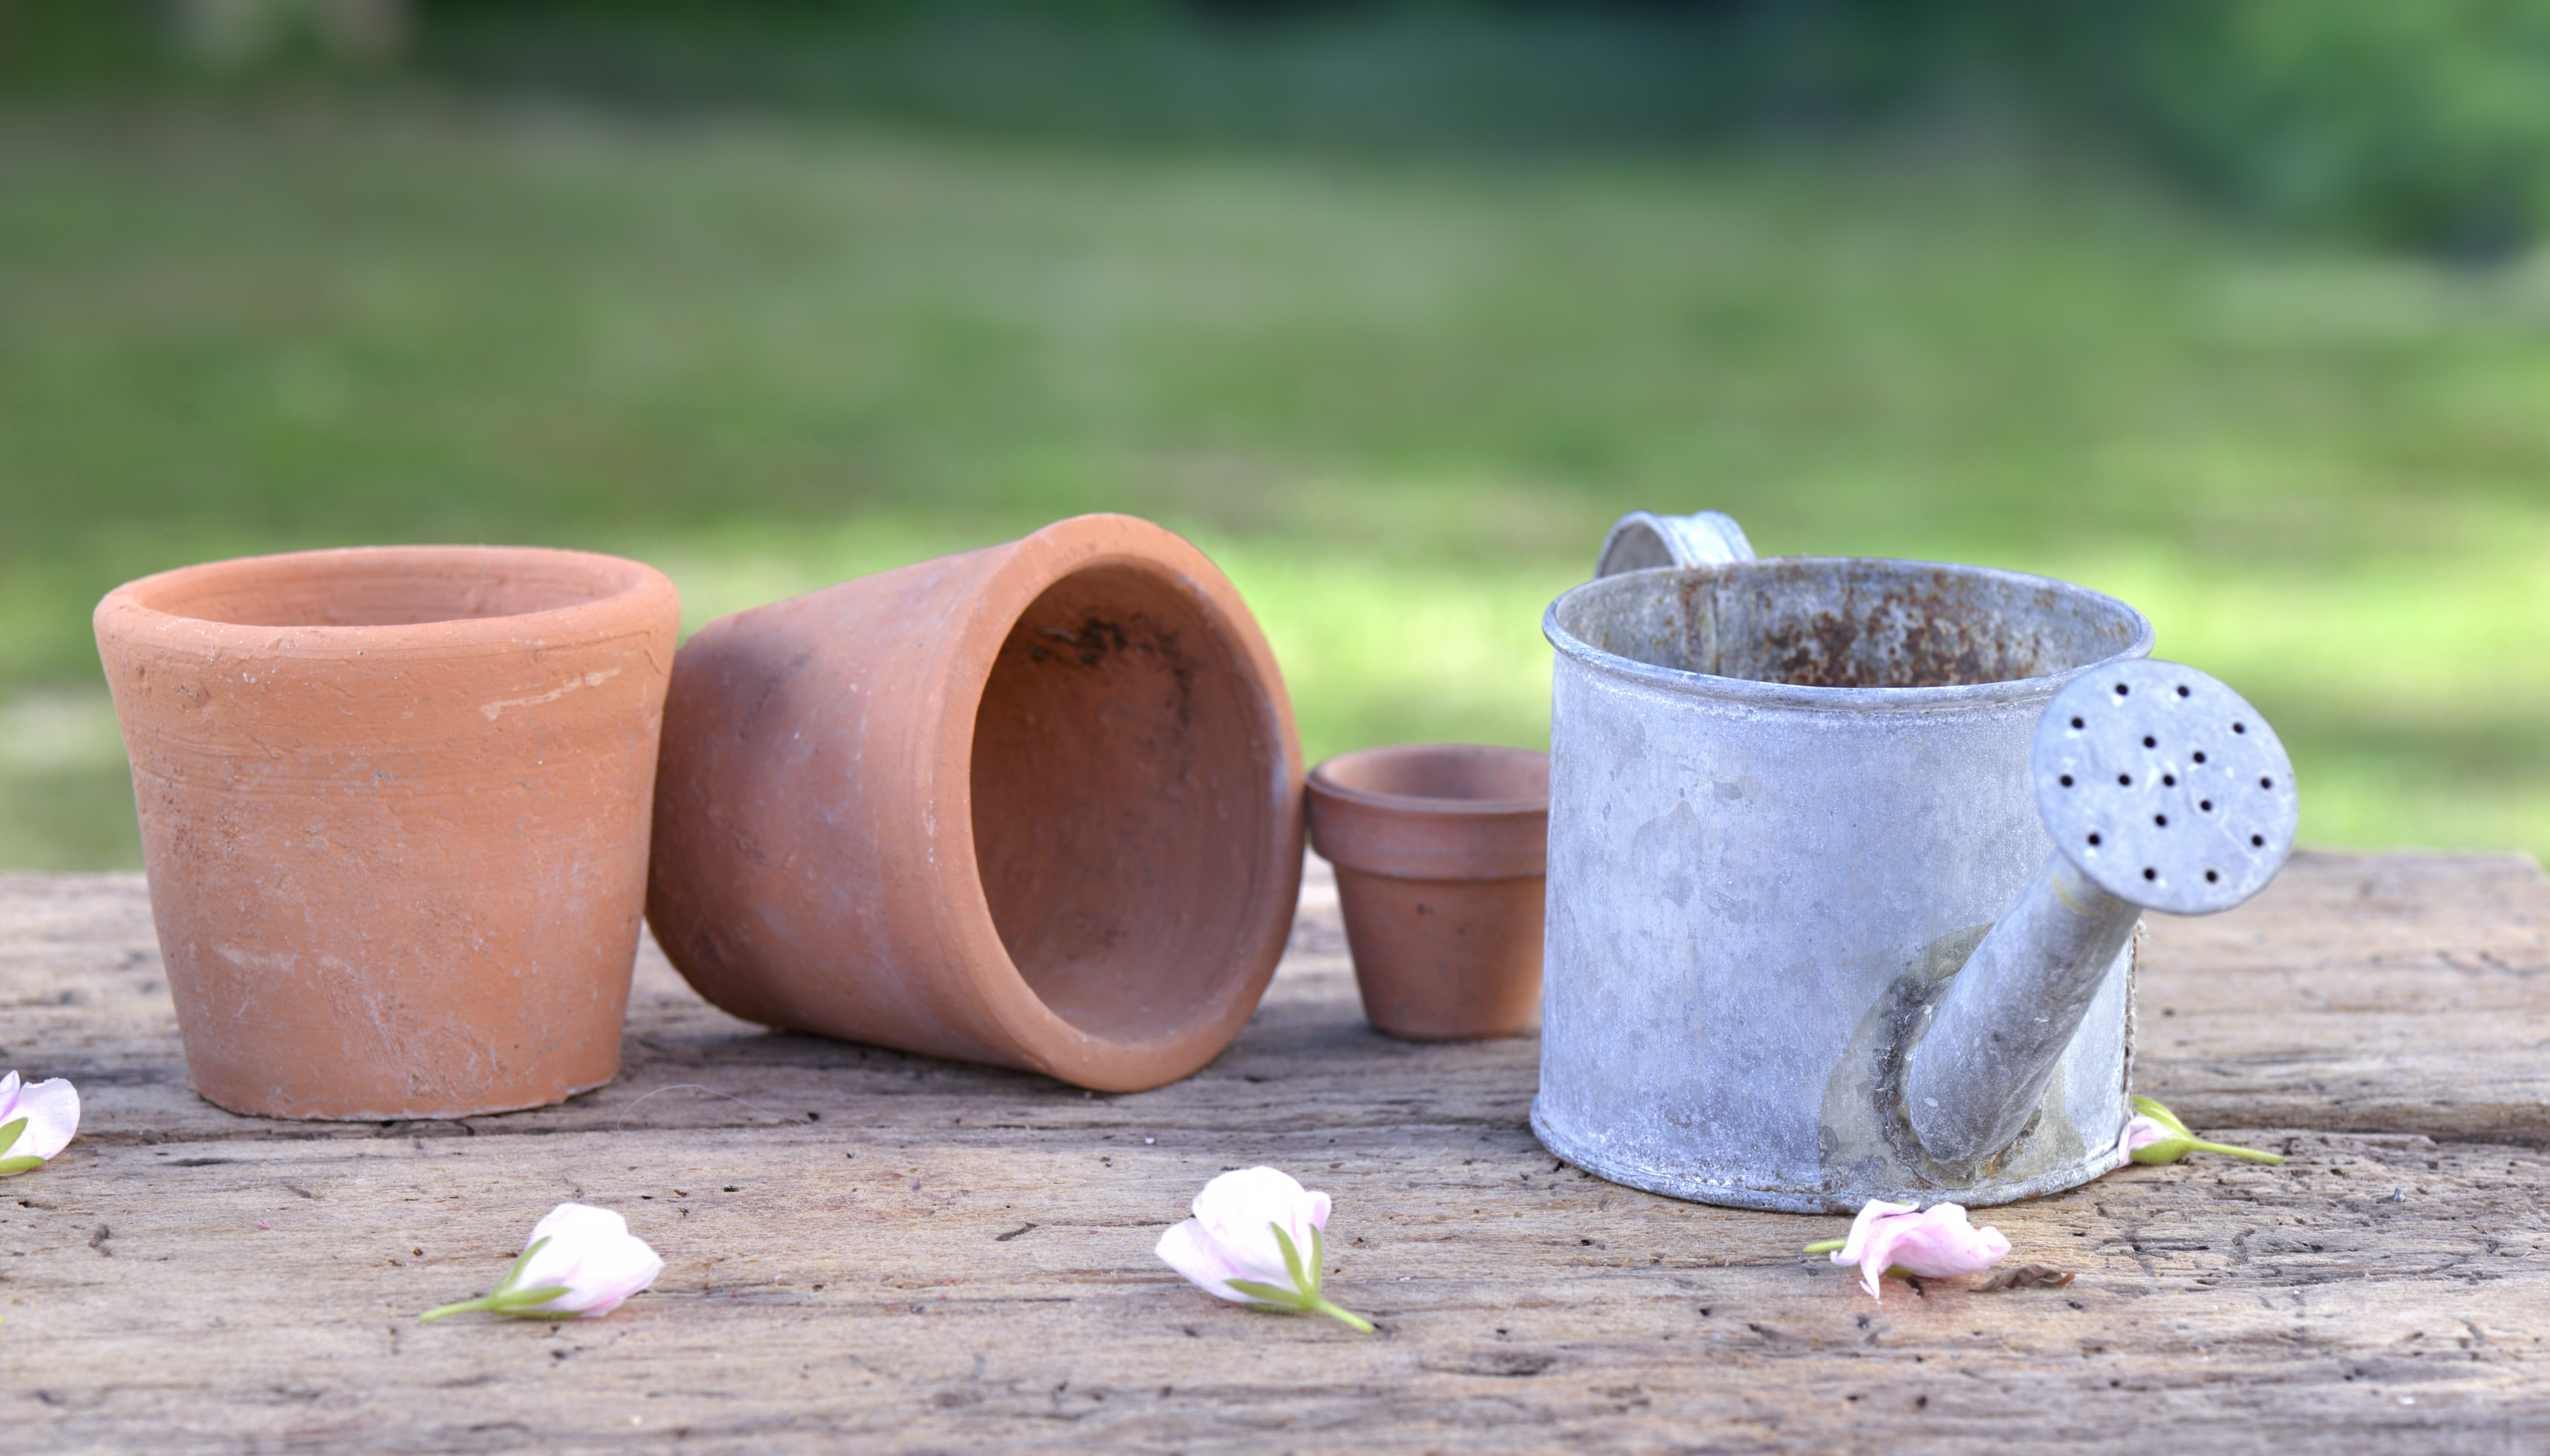
Traditionally, ollas are handmade pots with narrow necks that extend above the soil surface, making them easy to refill without disturbing nearby plants. While these are still available today, they can be expensive or difficult to source.
Fortunately, a simple DIY version can be made using standard unglazed terracotta plant pots. When the drainage hole is sealed and the pot is buried, it functions on the same principle as traditional ollas.
Studies estimate that olla irrigation can save 60-70% of water used compared to surface methods.
Best Uses in the Garden
Ollas can be used throughout the garden, but they are most effective in situations where consistent, low-maintenance subsurface watering is valuable. At larger scales, or in highly irrigated systems, other methods become more practical.
Large container plants are ideal candidates for ollas. Pots are more exposed to temperature fluctuations, experience higher evaporation rates, and often dry out more quickly than in-ground soil. An olla helps stabilize moisture levels and reduces the need for frequent watering.
They are also particularly useful in difficult-to-access areas of the garden, such as slopes, embankments, rocky areas where other methods can’t be installed, or widely spaced plantings where regular surface watering is inconvenient. In these contexts, ollas are great passive water sources.
Native grasses and flowering plants that prefer steady but not excessive moisture also respond well to olla irrigation, especially in dry or exposed environments.

What to Grow with Ollas
Plants with deep, fibrous roots are perhaps the best suited for growing next to ollas. High-moisture vegetables such as tomatoes, cucumbers, and pumpkins will thrive when planted with ollas.
More shallow-rooted plants like salad crops and herbs can be grown with ollas; however, the shape of the olla is very important. If the bulk of the vessel is too deep, then surface watering will be needed until the roots grow deep enough
Root vegetables such as carrots and onions can be grown with ollas, but results may vary depending on spacing and soil conditions. Because the vessel occupies physical space in the root zone, it can sometimes restrict uniform root expansion, which may affect shape and size in tightly planted beds.
Ollas are less well-suited for woody plants and shrubs, as the roots of these plants can become very substantial over time, and the pressure created by them can crack the olla.
Making Your Own Olla
A standard unglazed terracotta plant pot can be converted into an effective DIY olla with very little modification.
You will need:
- Unglazed terracotta plant pots
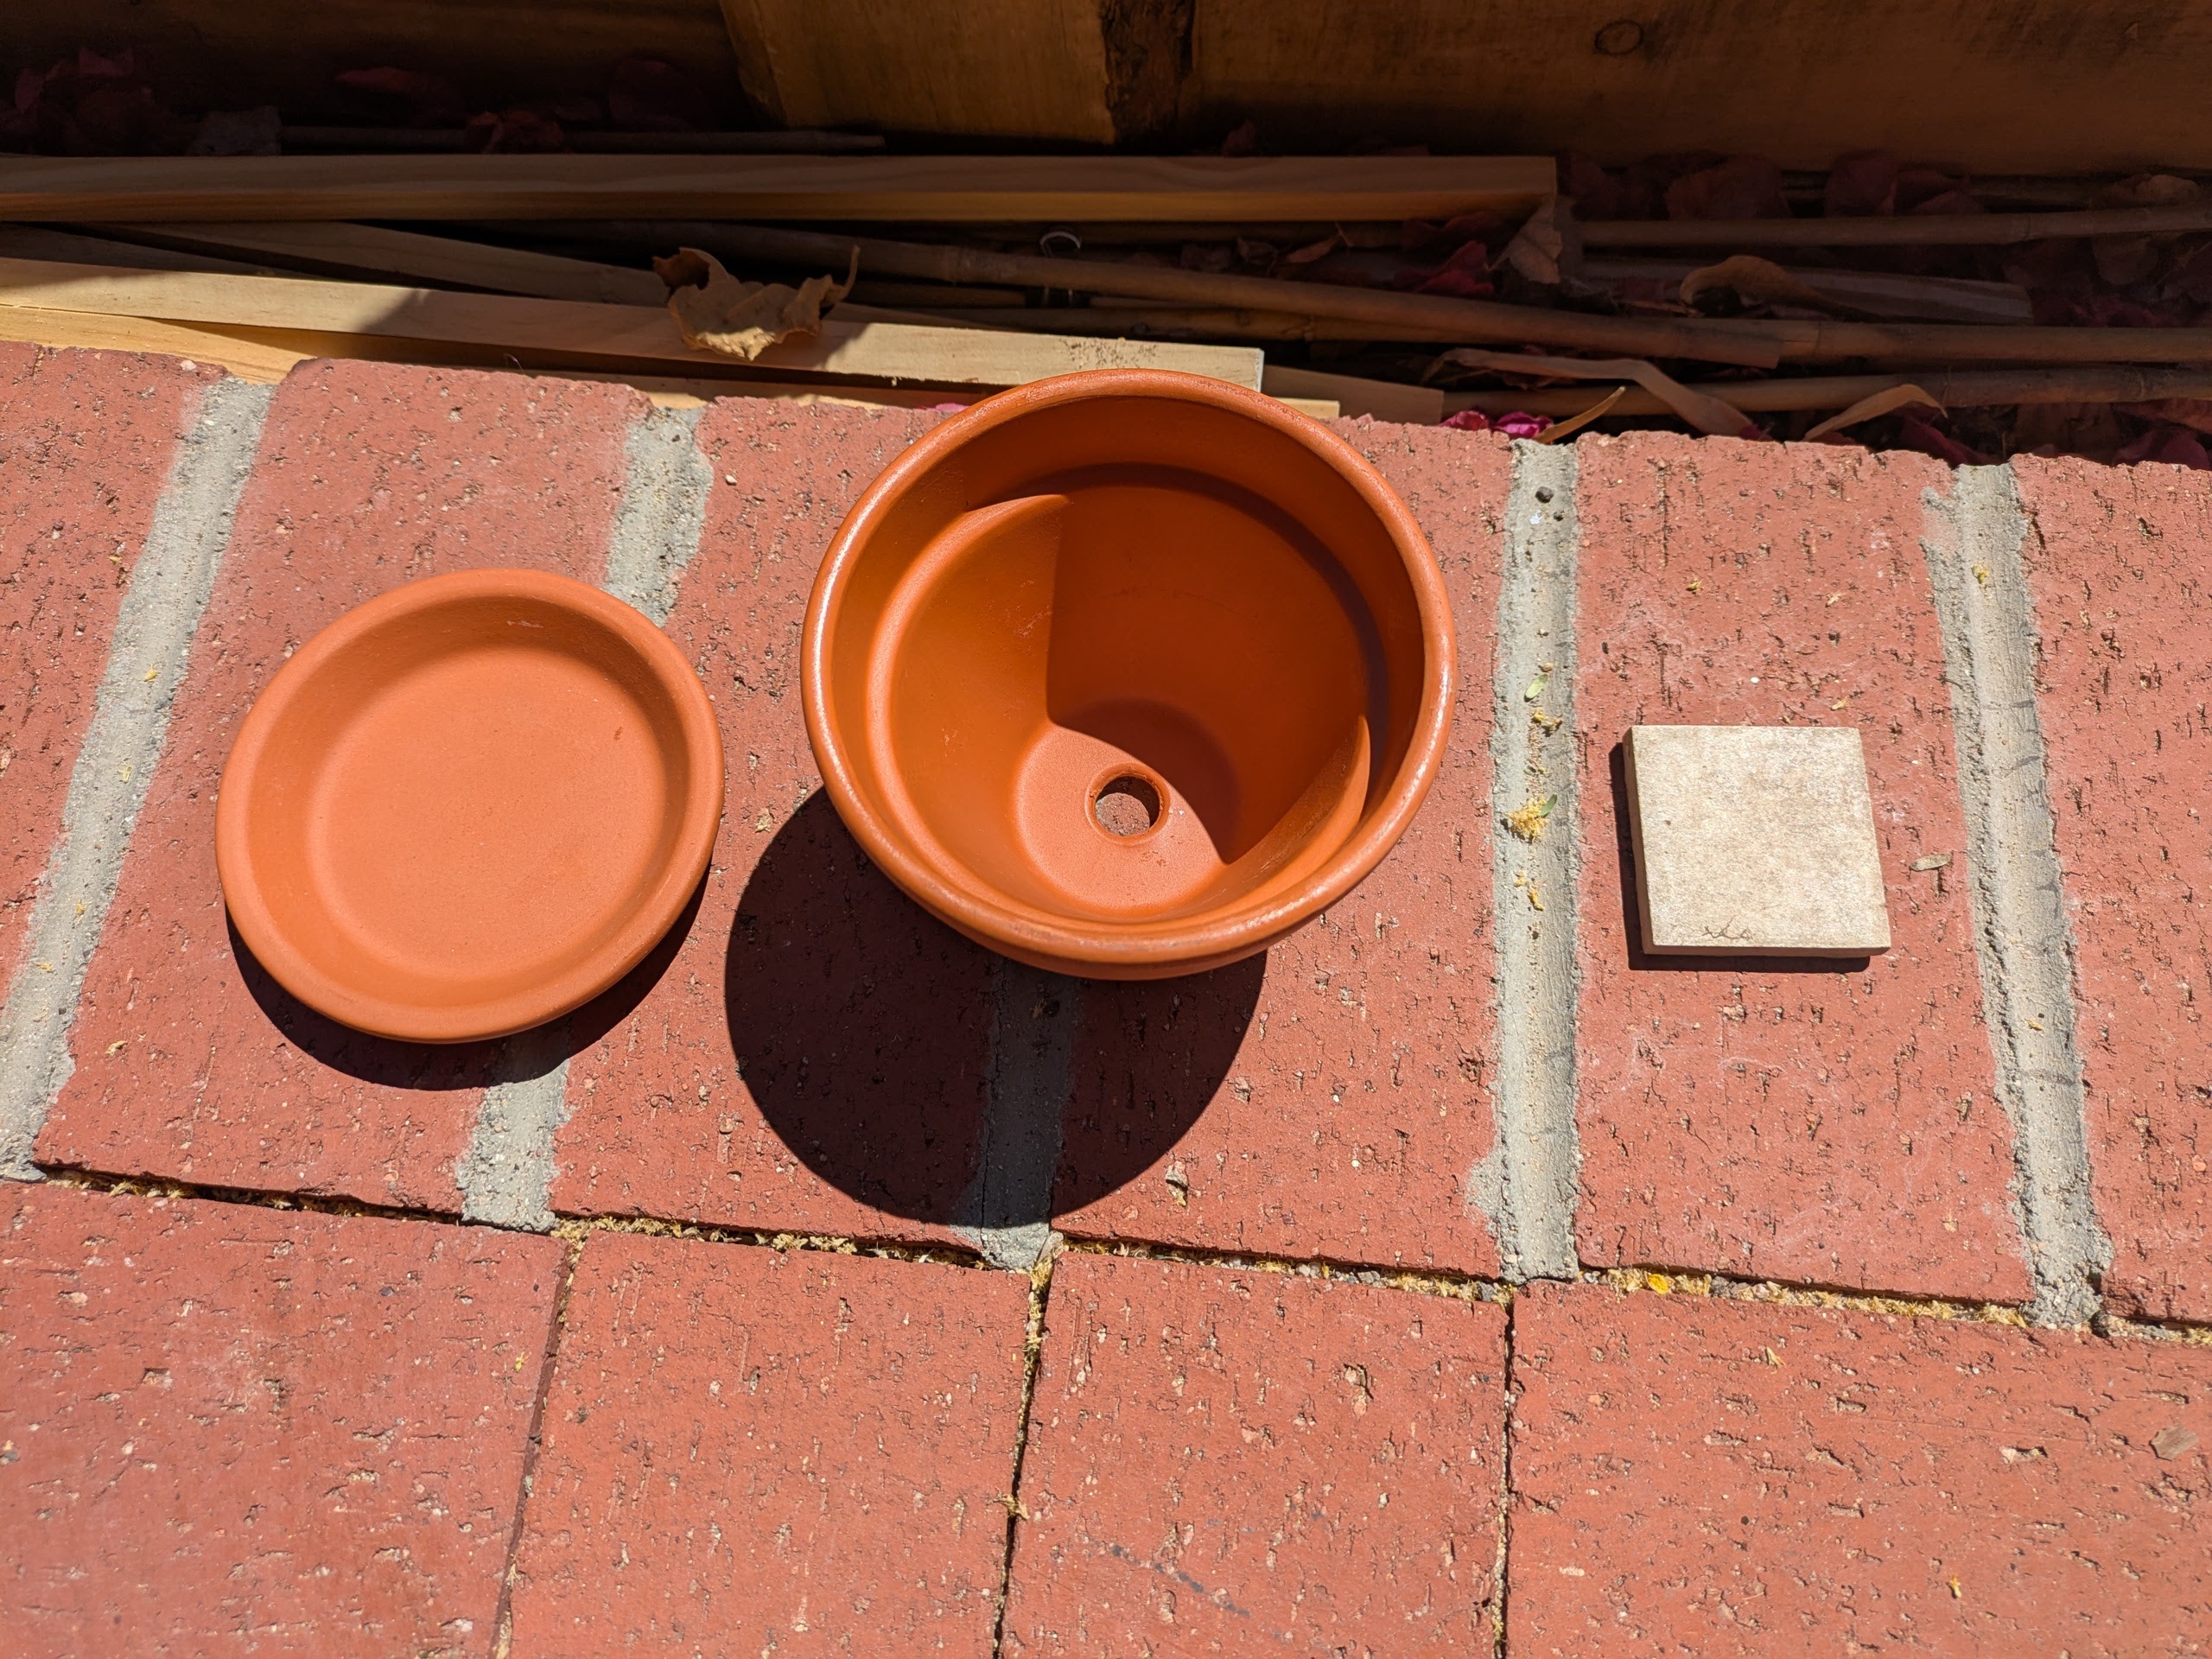
- A lid or cover sized to fit the pot (a terracotta saucer, scrap wood, or any opaque cover that limits evaporation)
- A method to seal the drainage hole (such as a tile fragment and food-safe glue, or a purpose-made plug or bung)
Step 1: Plan your spacing
Before installation, decide how far apart your ollas will be placed, as this will determine how many you need. As a general rule, a single olla can water an area roughly twice its own diameter. For example, a 6-inch pot can irrigate a zone up to approximately 12 inches across in each direction. For a raised bed, a 6-8 inch pot can irrigate around a 3ft square area.
This is, however, only a guideline. The actual range will vary depending on soil type, compaction, temperature, and plant water demand. Sandy soils tend to spread moisture more widely but less deeply, while clay soils hold moisture more tightly around the vessel.
It is best to treat this as a starting point and adjust spacing through observation over time.
Step 2: Seal the base
Ensure the drainage hole at the base of the pot is fully sealed. For some pots, a penny is well-sized to fill the gap, which can then be covered with safe silicone glue. I glued a piece of tile for mine.
Step 3: Install the olla
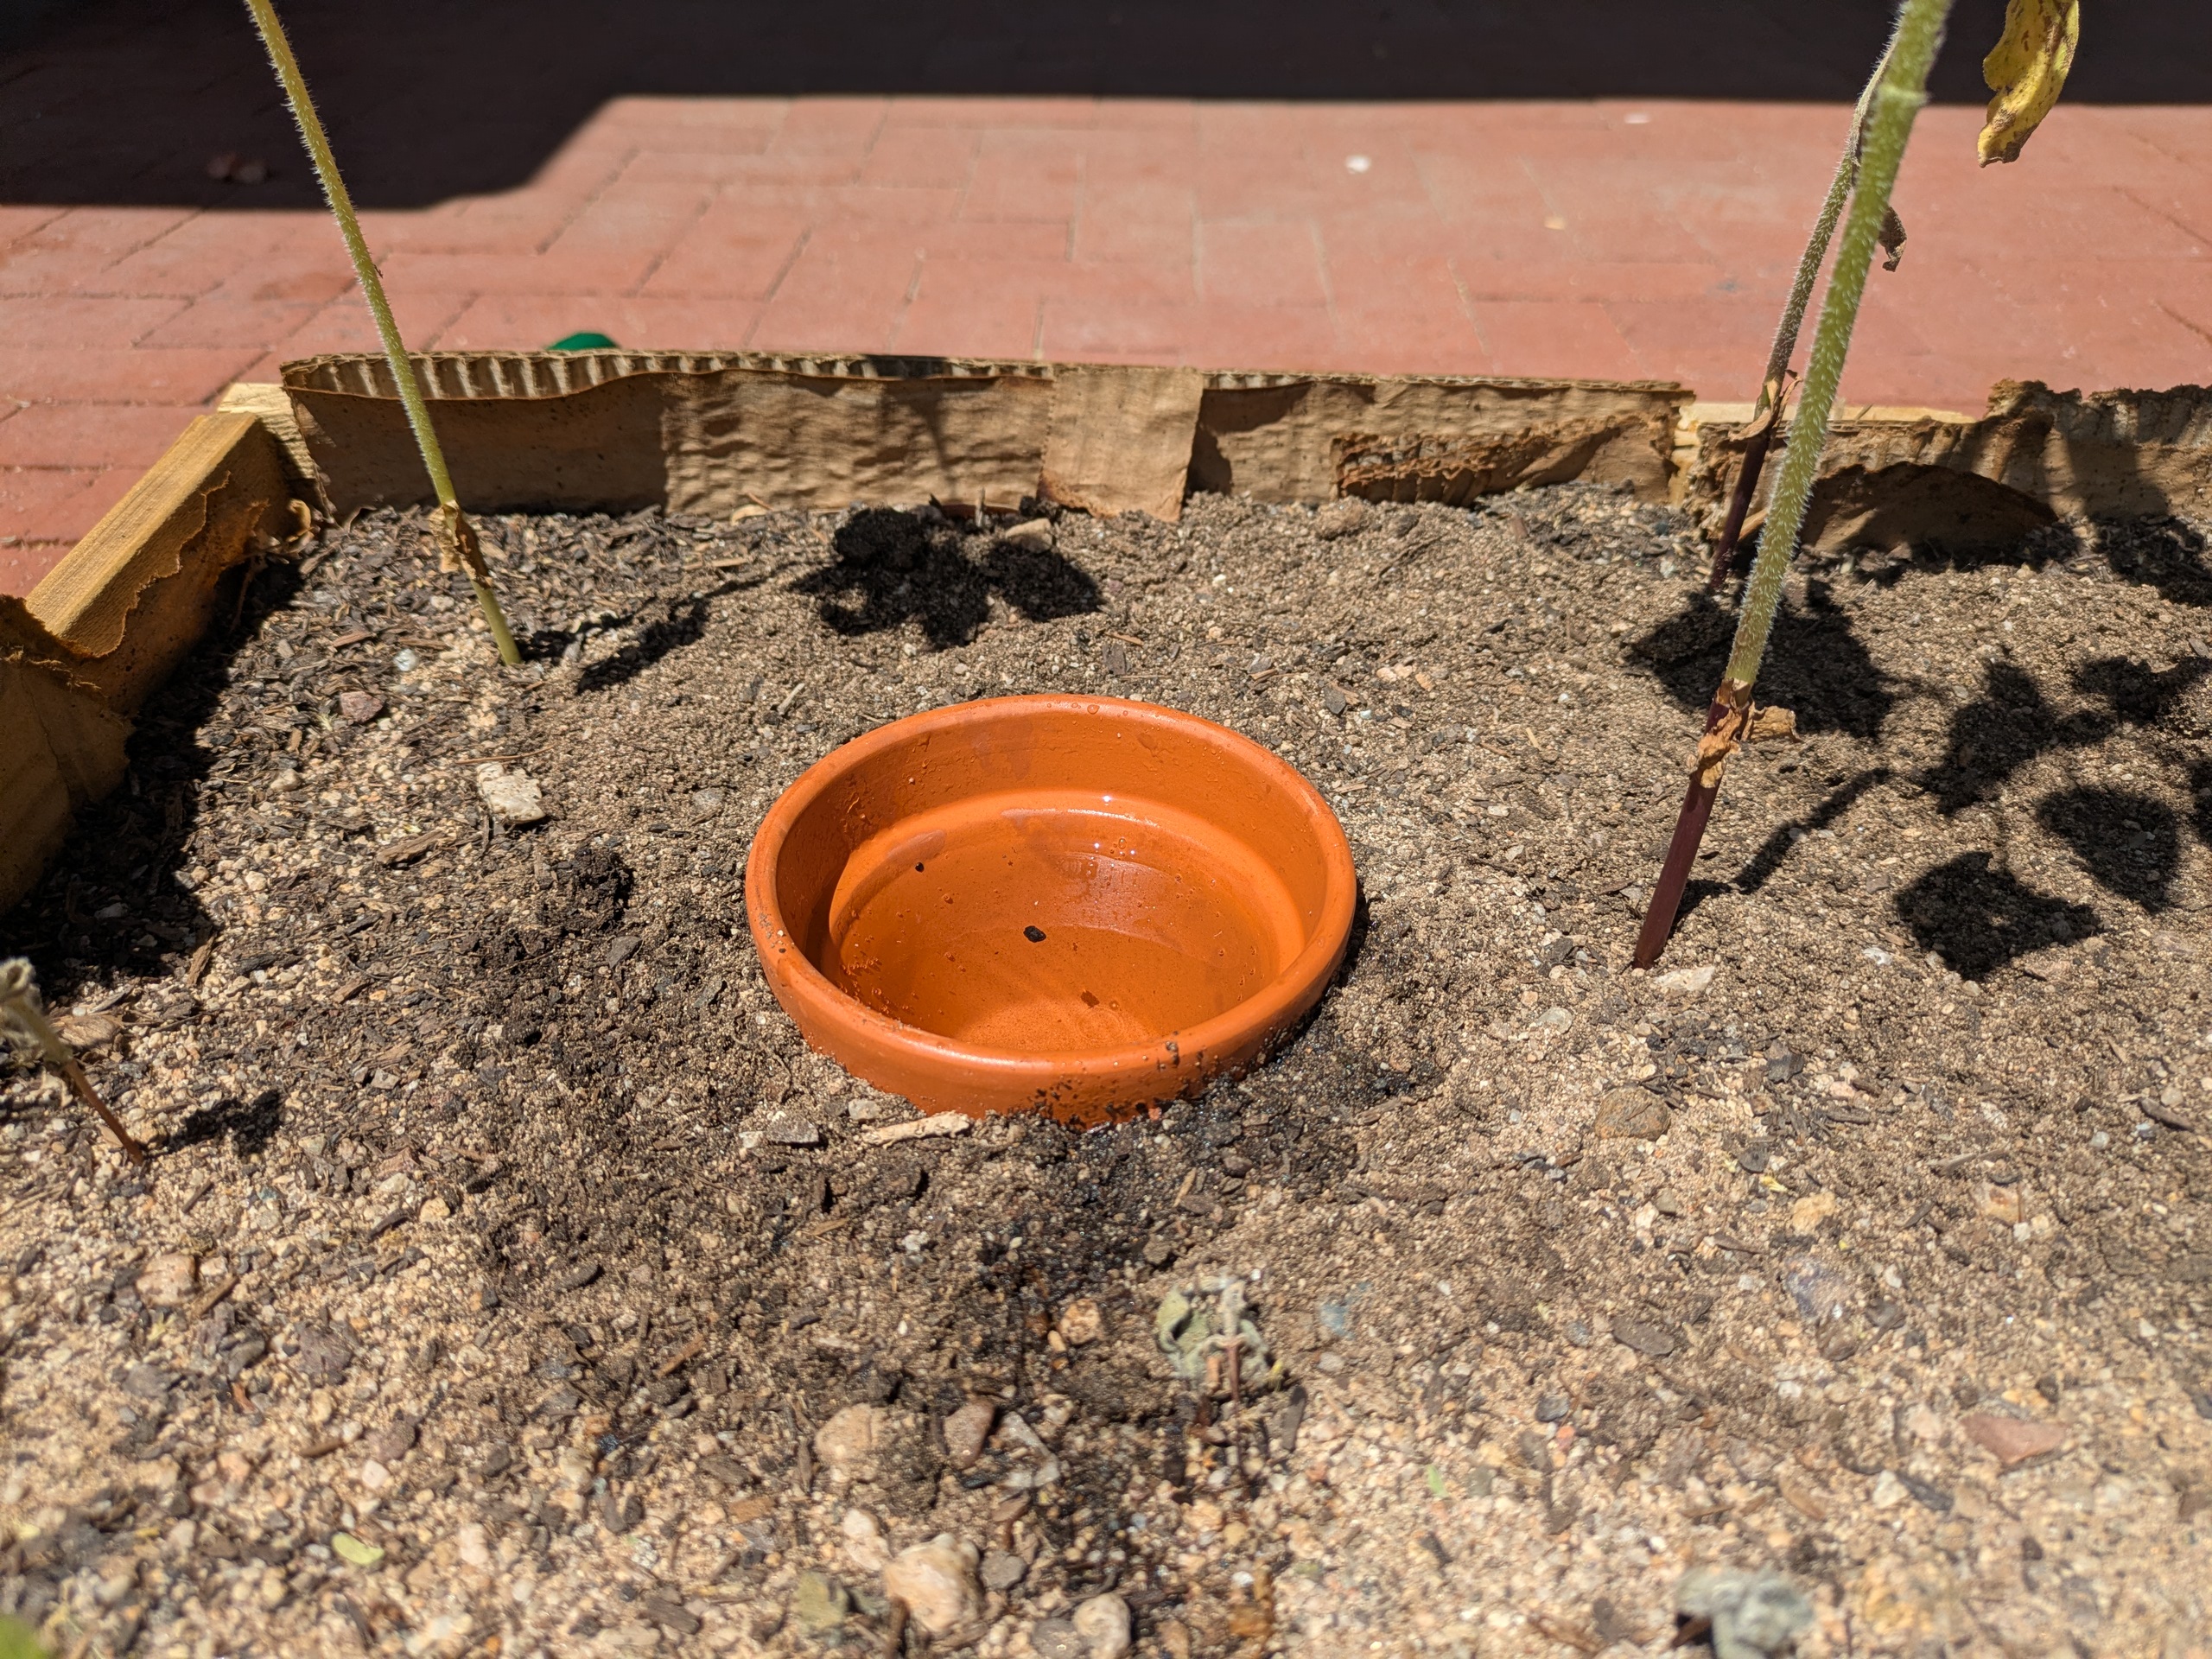
Dig a hole deep enough so that the pot sits with its rim about 1/4-1/2 inch above the soil surface. This will prevent the pot from filling with dirt, while still making it easy to water.
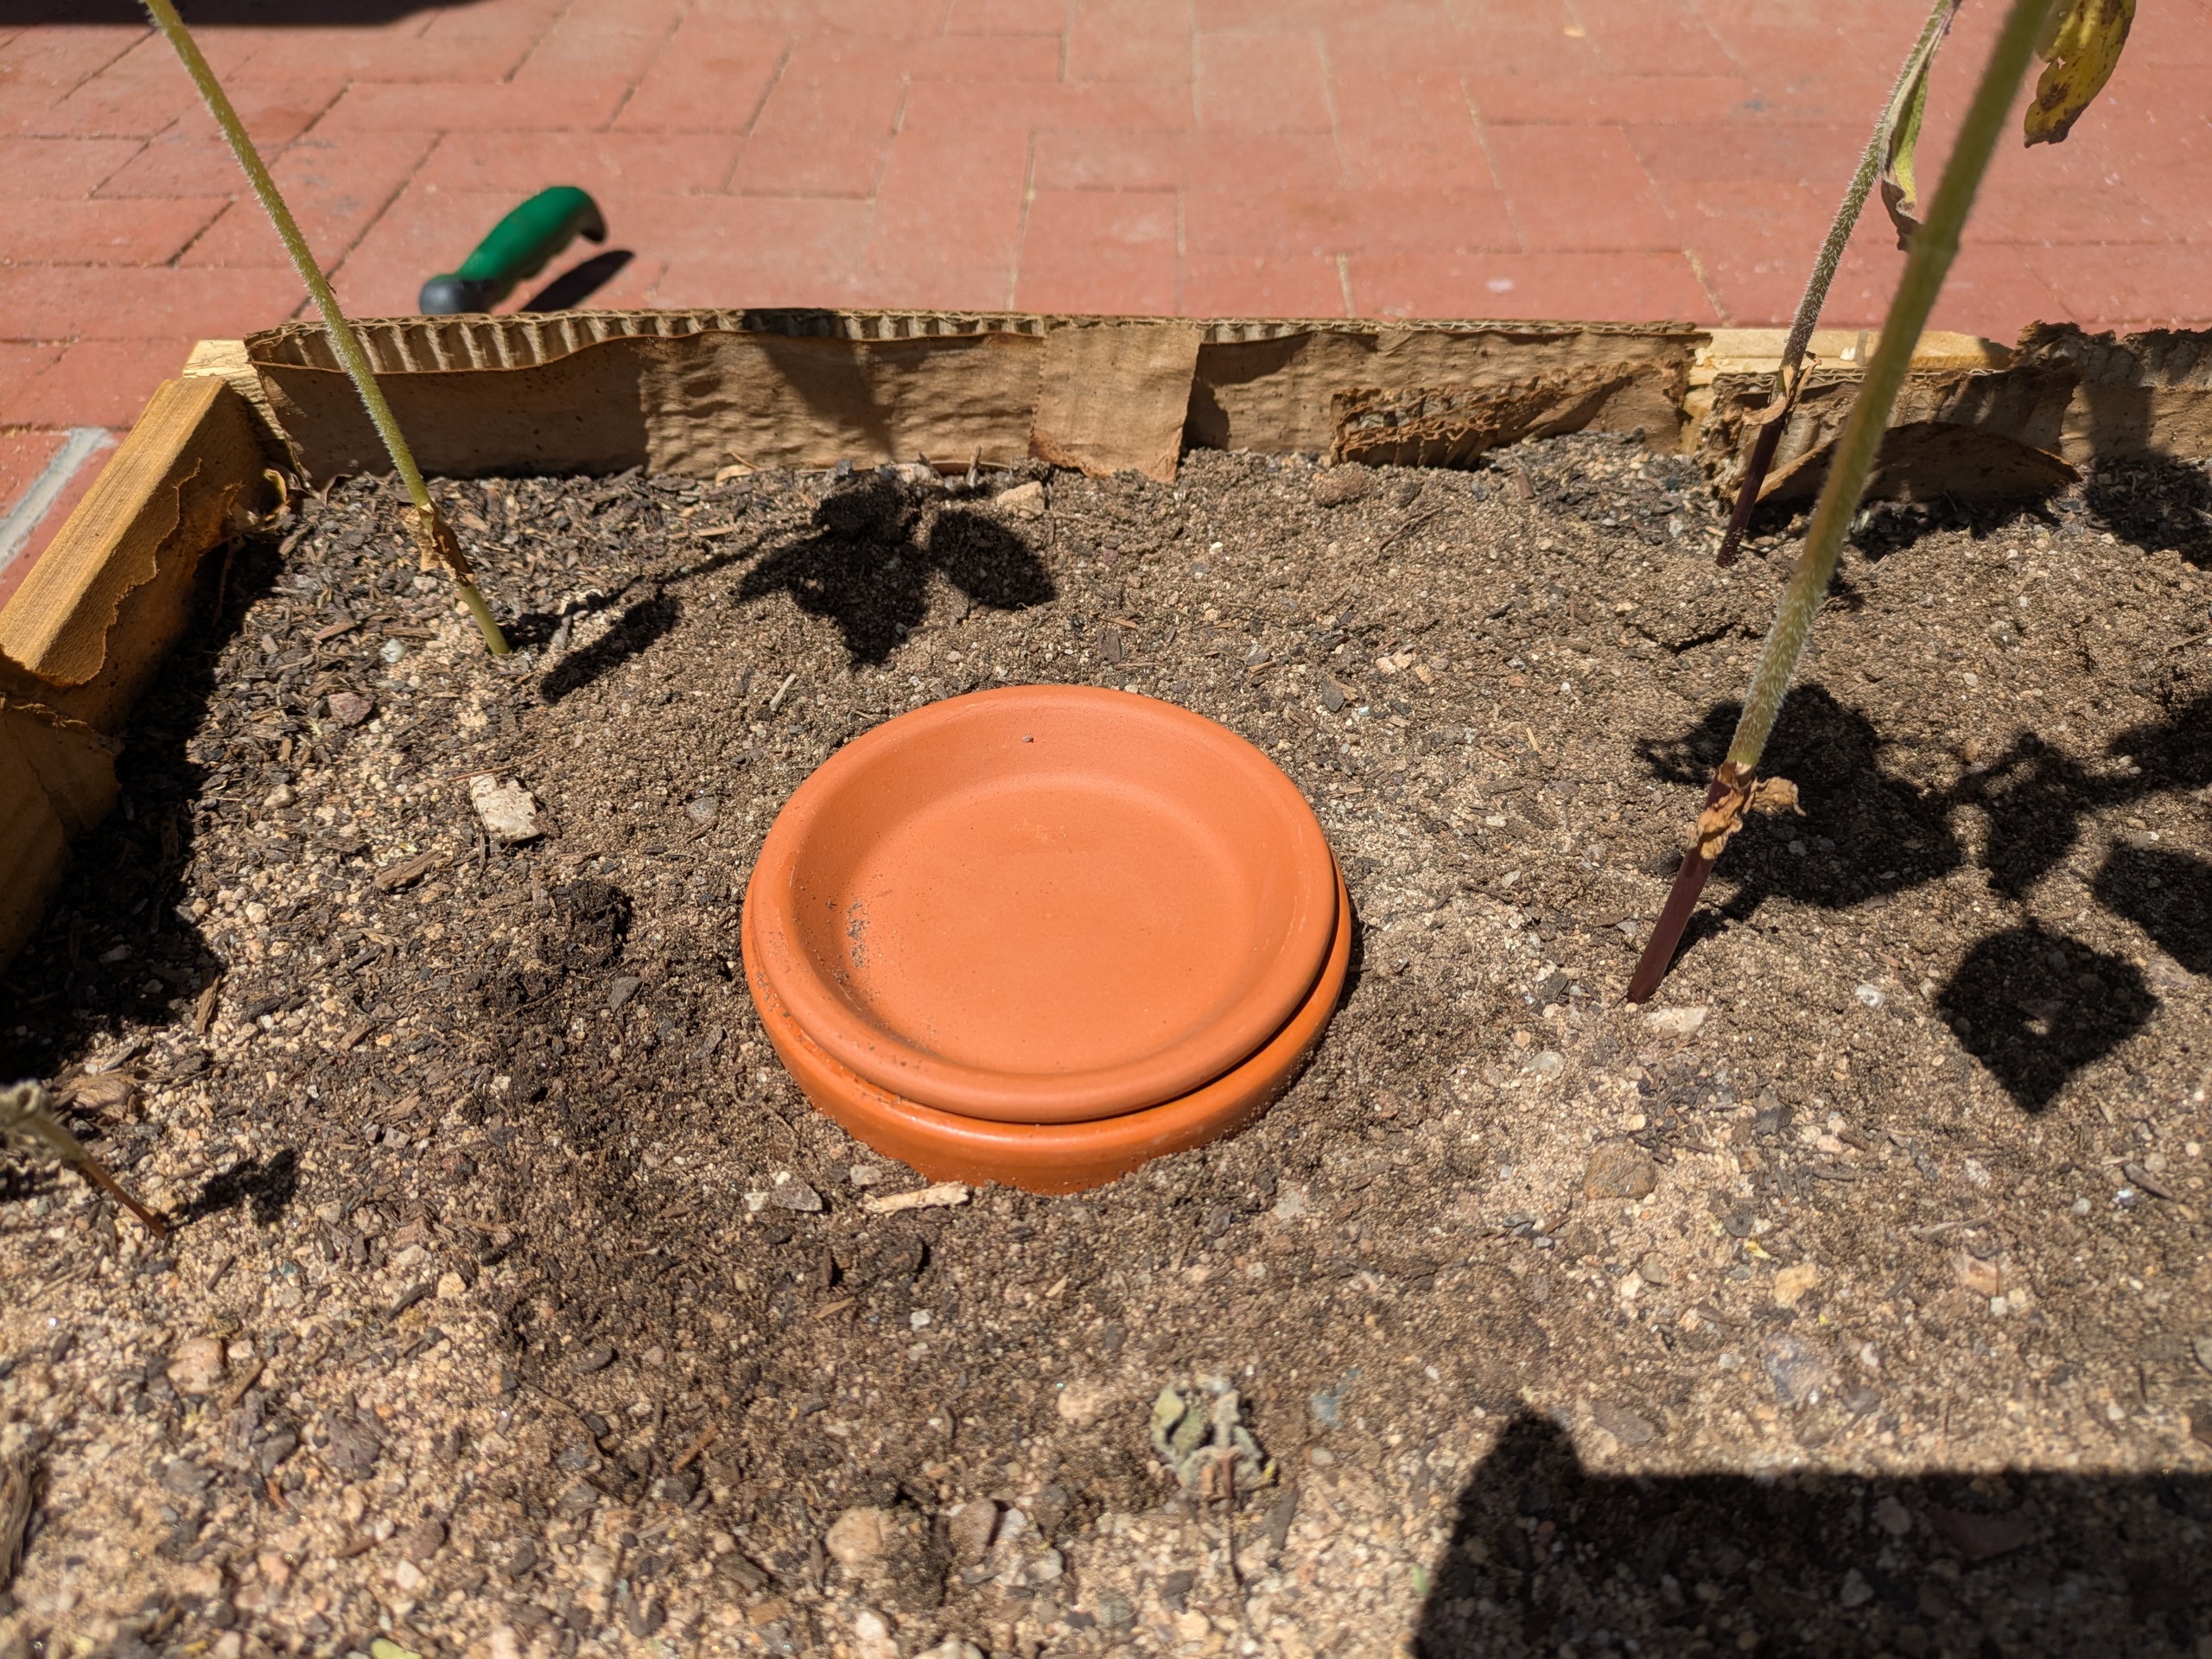
Backfill soil firmly around the sides to ensure good contact between the olla and the surrounding ground. Fill the olla with water and place the lid on top.
As it can take some time for the water to fully soak the soil, fill your ollas a day or two before planting.
Step 4: Observe and adjust
Over time, observe how plants respond and how quickly the olla empties. This will help you refine spacing, refill frequency, and placement for your specific garden conditions. If you’re using a plant saucer as your lid, consider filling that with water to create a shallow watering station for pollinators.
Advantages of Ollas
- They maintain a consistent level of soil moisture below the surface, encouraging deep root growth and more resilient plants.
- They reduce the frequency of watering, making garden maintenance easier and more efficient.
- Very little water is lost to surface evaporation, improving overall water efficiency.
- They provide a built-in water reserve, which is especially useful if you’re away for a few days.
- They help buffer plants against environmental stress, such as heat and wind, by delivering steady moisture directly to the root zone.
Disadvantages of Ollas
- Minerals and salts can accumulate inside the olla over time, so occasional cleaning is needed to prevent buildup from affecting the surrounding soil.
- They occupy physical space in the garden, making them less practical in tightly planted or small growing areas.
- Newly planted seedlings and transplants typically require supplemental surface watering for 2–4 weeks until roots establish contact with the moisture zone.
- They must be refilled regularly, although this can be reduced with gravity-fed or drip-based refill systems.
- If you live in an area with heavy frosts, ollas need to be brought inside for the winter, otherwise they may crack.
Wrapping Up
Ollas are a simple but highly effective way to irrigate a garden. While they do have limitations, these are generally easy to work around, and the benefits are long-lasting and significant.
Whether you choose a DIY setup or a pre-made vessel, incorporating ollas into your garden can improve plant health, reduce water use, and create a more resilient growing environment.